
Embroidery bag tags are small, quick-to-finish projects that are perfect for beginners. Whether attached to a bag, a set of keys, or given as a personalized gift, they are always a popular choice. In this tutorial, we’ll walk you through the entire process step by step to create a fun and satisfying glitter shaker bag tag.
What You’ll Need to Make a Bag Tag
Before getting started, please prepare the following materials and tools.
Materials
- Glitter vinyl
- Clear TPU film
- Colorful sequins
- Tear-away stabilizer
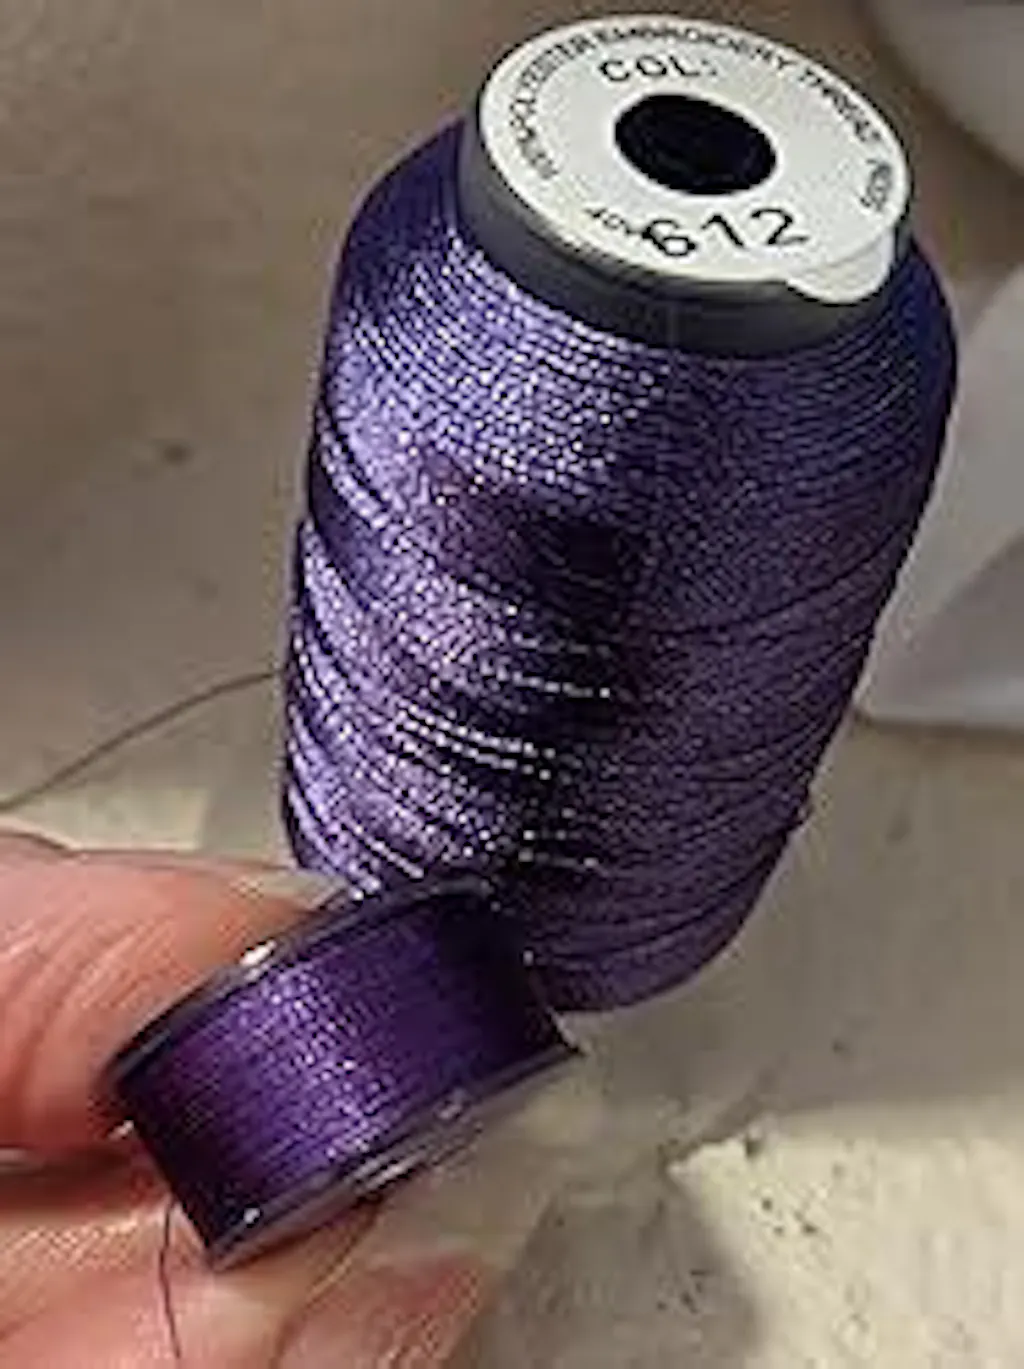
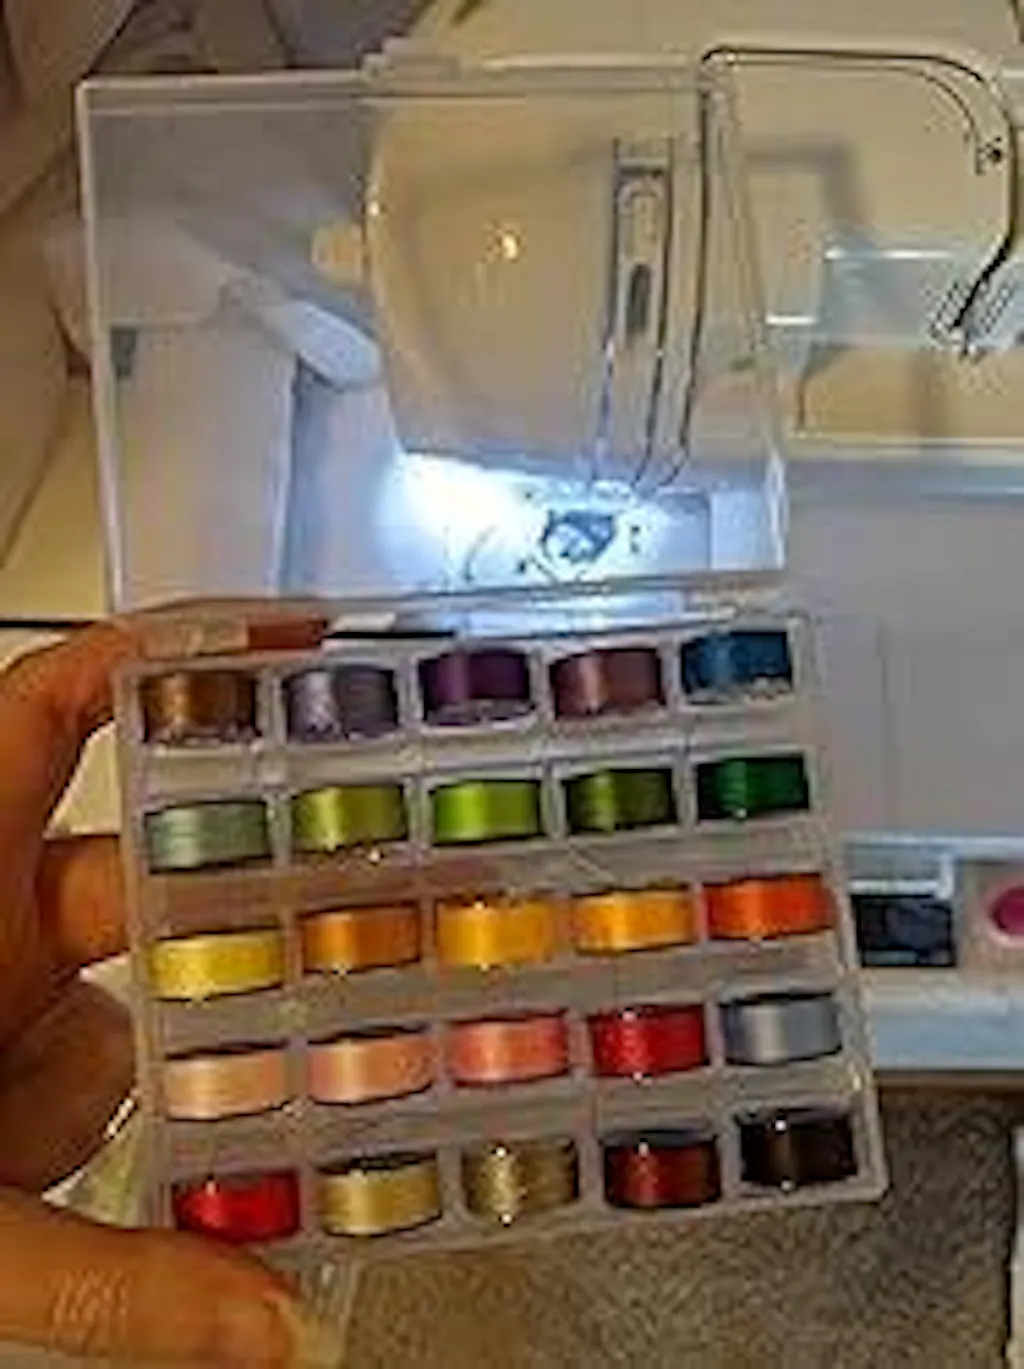
- Matching embroidery thread
- Plastic film
- Keyring
Tools
- PooLin EOC06 embroidery machine
- Embroidery hoop
- Scissors
- Positioning tools
- Sewing machine or hand-sewing tools
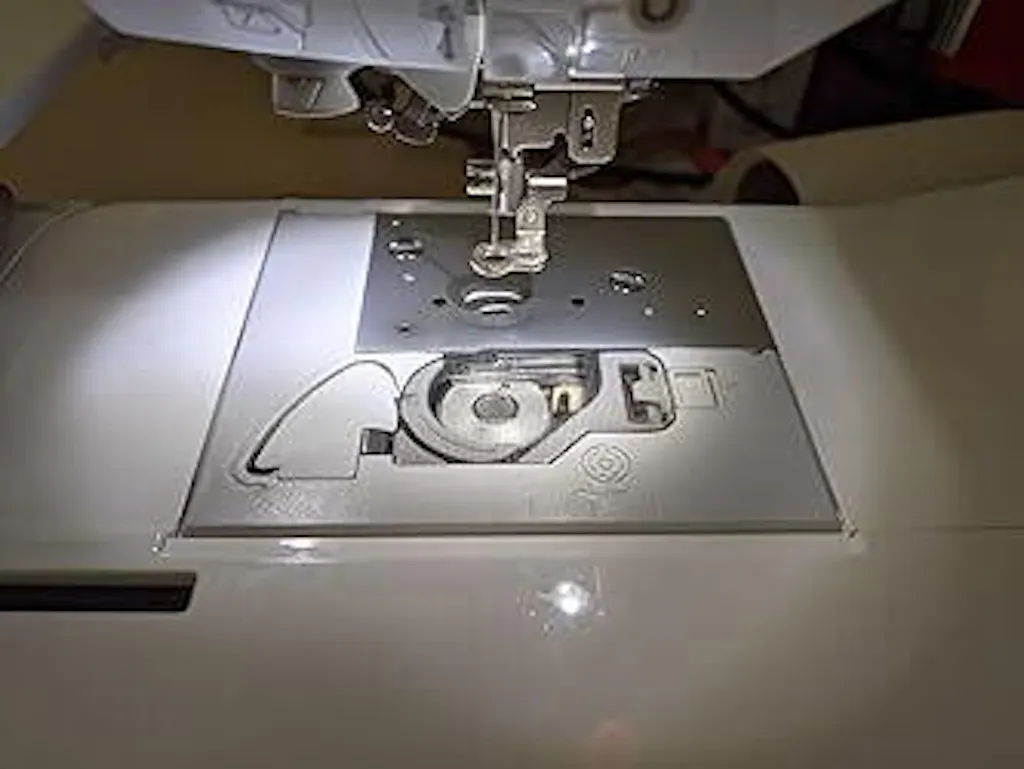
Preparation Before Embroidery
- Place the stabilizer and plastic film into the embroidery hoop in sequence
- Adjust them so they are evenly tightened and smooth, with no wrinkles
- This provides stable support for the embroidery and the layers added later

Start Embroidering the Design
Step 1: Load the Embroidery File
- Import the bag tag design into the embroidery machine
- Check the design size and orientation on the machine screen to make sure everything is correct

Step 2: Run the Embroidery Steps
01 Stitch the Placement Line
- This line is used to mark the position where the glitter vinyl will be placed

02 Stitch the Tack-Down Line
- Place the glitter vinyl over the placement line, with the shiny side facing up
- Smooth the material flat, then stitch the tack-down line to secure it in place

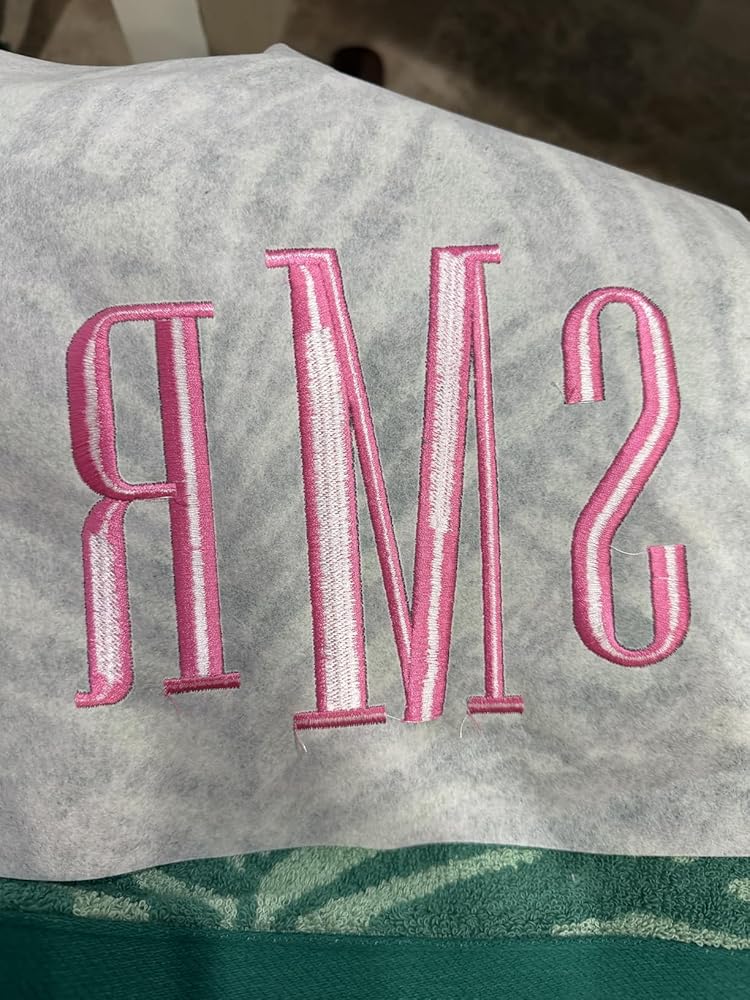
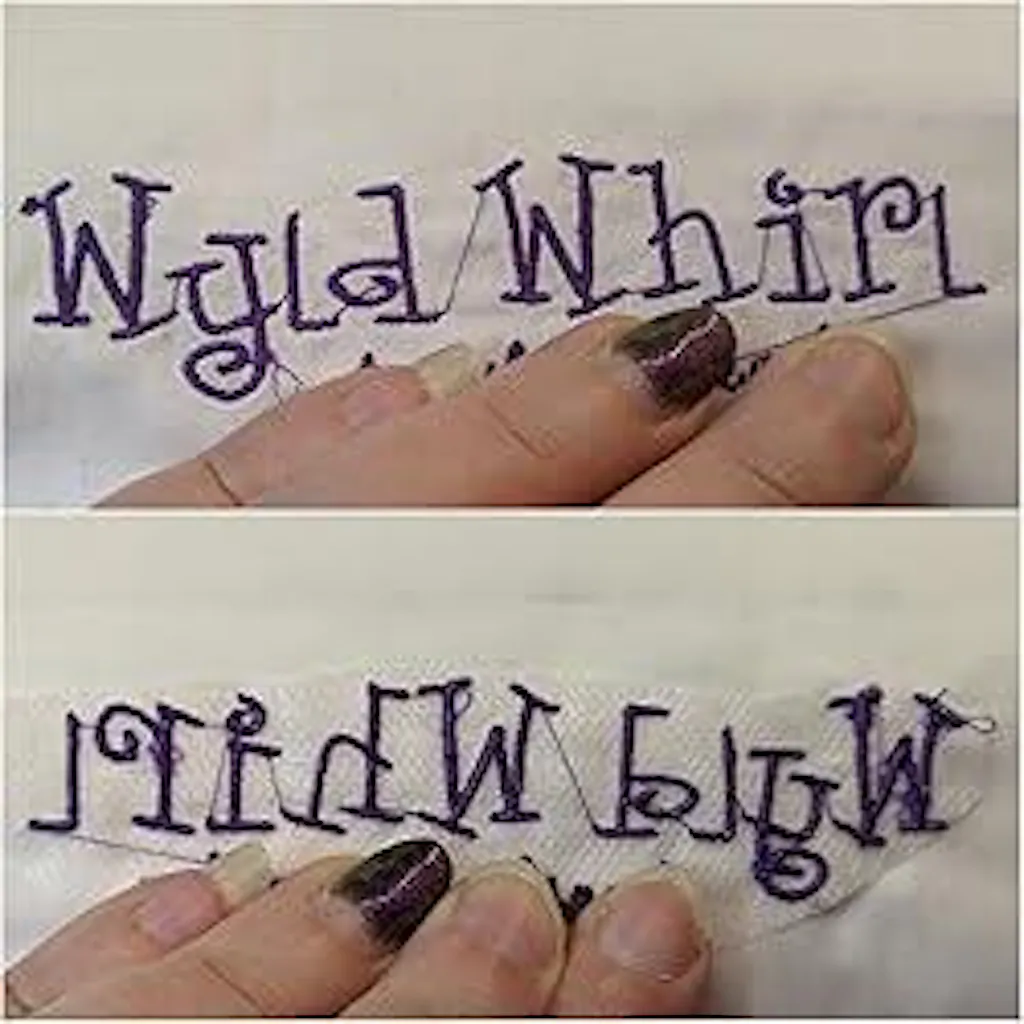
03 Add Personalized Text
- At this step, you can add your name or a word with special meaning to personalize your bag tag

During the embroidery process, keep the following in mind:
- Watch closely to ensure the stitches run smoothly
- Pause and make adjustments if any issues occur
Trimming and Layering
- After the embroidery is complete, remove the hoop from the machine
- Carefully trim away the excess fabric following the embroidered outline

- Add colorful sequins inside the bag tag
- Be careful not to overfill; leave some space so the sequins can move and create the “shaker” effect

Sealing and Shaping
- Gather the sequins toward the center
- Place the TPU film on top of the sequins

- Reduce embroidery speed
- Use a tool to hold the sequins in place to prevent them from scattering during stitching

- Stitch the final tack-down line to complete the overall structure of the bag tag

- Remove the excess film

- Tear away the excess stabilizer and remove the finished bag tag from the hoop

- Carefully seal the edges with a lighter to prevent fraying

Attach the Bag Tag Hardware
- Punch a hole in the designated spot and attach the keyring

- Make sure the connection is secure and won’t come loose
- Your glitter shaker bag tag is now complete ✨


0 comments