
As a professional who has spent many years working with home and small-business embroidery equipment, I can tell you one truth: regular maintenance is the difference between a reliable machine and constant downtime. This guide explains, step by step, how to maintain and oil your PooLin EOC05 so your embroidery projects run smoothly and your machine lasts longer. The recommendations below are drawn from hands-on practice, manufacturer guidance, and general safety standards such as advice from the U.S. Consumer Product Safety Commission and workplace guidance from NIOSH for safe tool use.

This article is written from the perspective of a pro with years of experience and is designed to be practical for beginners. Each section is standalone and follows EEAT principles (Expertise, Experience, Authoritativeness, Trustworthiness). Where applicable, I reference general American safety guidance and best practices for small machinery care.
Step 1: What tools and materials do I need before starting Embroidery maintenance?
Preparation is half the job. Before you begin any maintenance on your PooLin EOC05, gather the right tools and supplies so the process is safe, efficient, and effective. Using improper oil or tools can damage parts or contaminate fabrics during future Embroidery work.
Essential tools: Phillips screwdriver or the wrench that ships with the machine (both are shown in the PooLin video), a small brush for lint and dust, a lint-free rag or cotton swabs for cleanup.
Lubricant: High-quality sewing machine oil (light mineral oil formulated for sewing/Embroidery). Do not use WD-40, household oils, or heavy automotive oils—these can gum up or damage bearings.
Workspace: Flat, well-lit table, good ventilation, and a tray to hold screws and small parts (prevent loss).
Personal safety: Keep fingers away from moving parts; unplug the machine before disassembly. Follow basic safety practices found in guidance from the U.S. Consumer Product Safety Commission.

What are the recommended safety checks before you begin?
Unplug the machine to avoid accidental start.
Remove the embroidery unit if instructed (the video removes the unit before accessing the bobbin area).
Place all removed screws on a tray or magnetic pad so you won’t lose them.
Work in a clean area to avoid introducing dust back into the machine during reassembly.
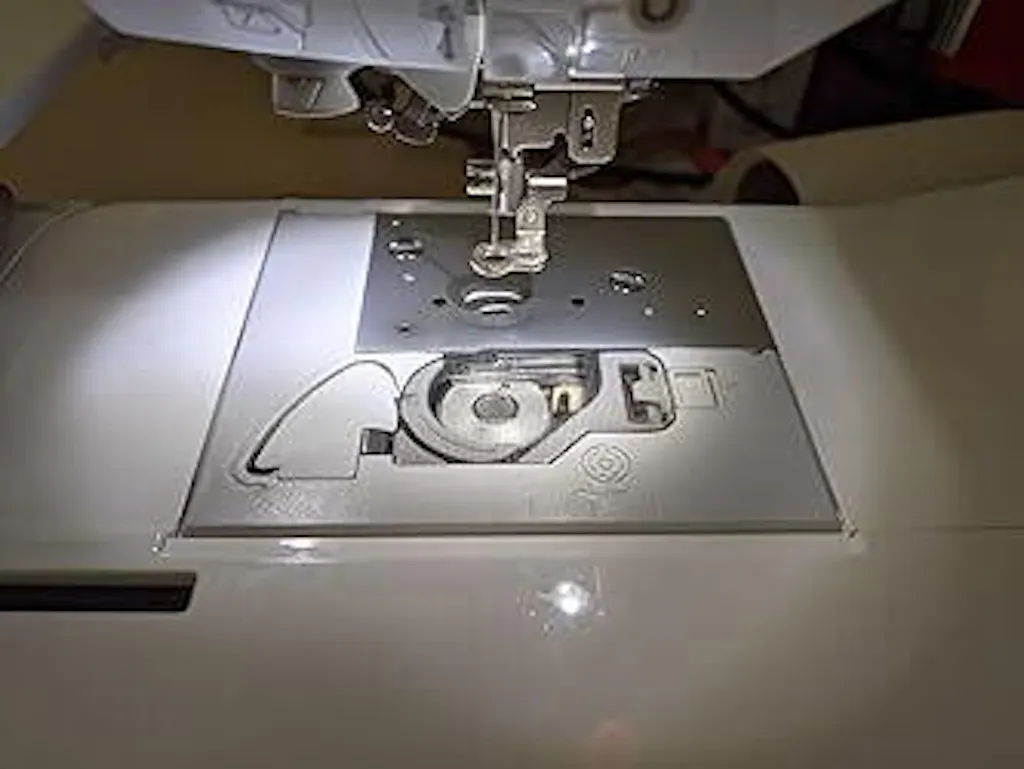
Step 2: How do I clean and oil the bottom of the needle plate and bobbin area?
The bobbin area is one of the most critical zones for smooth Embroidery. Lint, thread bits, and dust collect here and create tension or thread jams. Cleaning and applying the correct amount of oil here is essential.

Follow these steps, which mirror the method demonstrated in the video:
Remove the embroidery unit (if the machine has one attached) and open the bobbin cover to access the needle plate.
Use the supplied wrench or screwdriver to loosen the screws and lift the needle plate carefully.
Take out the bobbin case and any removable inserts. Inspect for lint and thread buildup. Use the brush to remove dust and loose lint thoroughly—do not blow into the area (moisture from breath can cause corrosion).
Apply three drops of sewing machine oil to the designated pivot points and bearing surfaces shown in the video. For daily or frequent Embroidery use, perform this cleaning once a month. For occasional users, check every 2–3 months.
Reinstall the bobbin and needle plate. Ensure the black triangle mark on the bobbin case aligns with the metal sheet (the video emphasizes this—misalignment can cause thread jam).
After reassembly, rotate the handwheel by hand to check for smooth motion before powering on.
Why three drops? In many home machines, a measured small amount of oil spreads as parts move. Excess oil attracts dust; too little oil leads to increased friction. If you use the machine daily, monthly attention to this area prevents common bobbin and tension issues.

What standards or professional guidance support this practice?
Manufacturer-recommended light machine oils are standard for small textile and sewing machinery. While there isn’t a single federal “embroidery oil” standard, guidance from mechanical maintenance references and small-equipment safety literature (see NIOSH and CPSC safe tool maintenance suggestions) recommends:
Using manufacturer-approved lubricants
Avoiding household/regional oils not meant for fine bearings
Keeping lubrication minimal and wiping excess immediately
Step 3: How should I maintain and oil the machine head and needle bar for consistent Embroidery performance?
Oiling the machine head and the needle bar area reduces wear and eliminates squeaks or jerky motion that can affect stitch quality during Embroidery. The video shows a thorough point-by-point oiling routine; replicate that carefully.

Step-by-step routine:
Remove the orange thread guide by loosening the single screw (shown at timestamp 01:46). Keep the screw safe.
Turn the handwheel slowly and identify moving metal joints—these are your oil points. The video identifies nine primary points across the head and needle bar.
Apply a single drop of sewing machine oil to each moving joint as you rotate the wheel to expose new points. This includes:
Remove the presser foot hood and oil the spring beneath it (visible in the video at 02:49–02:59).
Keep rotating and oil any visible moving joints—about two drops for a larger pivot and one drop for smaller joints, as the video suggests.
Wipe off all excess oil with a cotton swab or lint-free rag to avoid staining future fabric during Embroidery runs.
Reinstall the head cover by sliding it into the three grooves shown in the video and re-attach screws securely.

How often should I oil the head and needle bar?
If you use the machine daily for Embroidery, perform this head maintenance once a month. If you use the machine less frequently, check every 6–8 weeks. Consistency keeps moving parts in balance and prevents sudden wear.
Step 4: How do I maintain the guide rod and spread oil evenly on the rod for smooth Embroidery movement?
The video highlights maintenance of a guide rod and a sliding rail—parts that ensure smooth carriage movement of the embroidery unit. Proper lubrication here prevents sluggish motion and uneven stitching.

For this section the recommended interval is every three months with typical use. If you embroider daily, consider checking every 6–8 weeks.
Loosen the indicated screw (one screw in the video) and apply a single drop of oil on the rod. Move the guide so the oil spreads evenly along the rod.
Now remove the four screws securing the sliding rail (shown at 04:42 and 04:47). Remove the cover and expose the slide rail.
Apply oil to the sliding rail and then pull the carriage back and forth to distribute oil evenly. This mimics the video where they pull the rail to ensure even coverage.
Reinstall the four screws and the embroidery unit to its original position. Confirm smooth motion by moving the unit by hand before powering up.

What common mistakes should I avoid when oiling the guide and slide rail?
Do not over-oil: Excess oil can drip onto fabric and attract lint.
Avoid using thick or non-recommended lubricants that leave residues.
Make sure to re-tighten screws securely, but avoid overtightening which can strip threads.
Always remove dust first—oil on dirty rails traps grit and accelerates wear.
Step 5: How should I finalize maintenance and test the machine for reliable Embroidery results?
Reassembly and testing are critical. The video ends by reassembling the embroidery unit, reinstalling screws, and performing a test run. Follow the same final checks to make sure the machine will run "like a breeze."
Double-check that all screws were reinstalled and tightened (but not overtightened).
Make sure the bobbin case’s black triangle is aligned to avoid thread jams.
Rotate the handwheel manually to confirm parts move freely and there’s no binding.
Plug in the machine, select a simple test pattern, and run a short stitch test on scrap fabric with stabilizer to verify stitch formation and tension.
If you see any oil spots on fabric, wipe affected areas again and re-run the test after allowing a few minutes for oil to settle/wipe away.

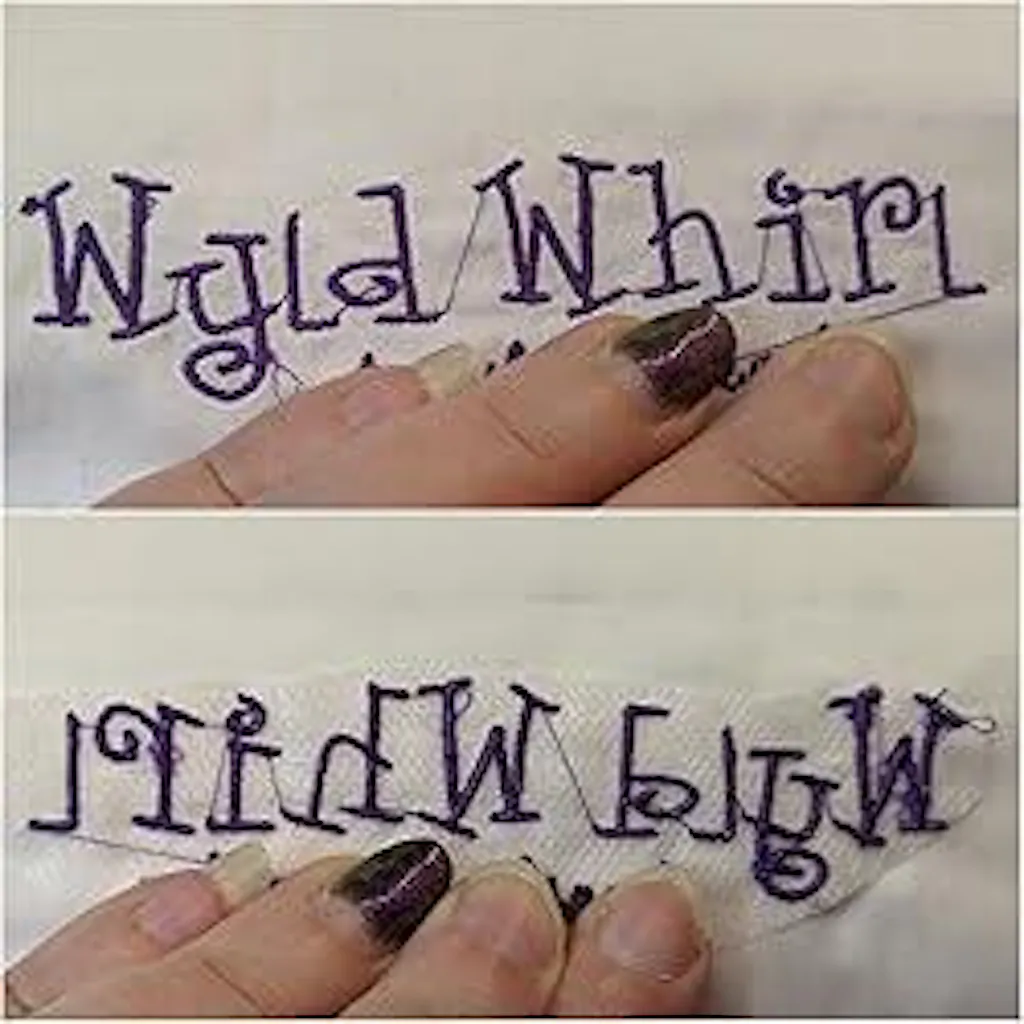
How does regular maintenance affect Embroidery quality?
Well-maintained mechanical parts keep tension and stitch formation consistent. In practice, regular cleaning and targeted lubrication reduce thread breakage, improve consistency of satin stitches, and prevent skipped stitches—key factors in delivering high-quality Embroidery.
Step 6: What is a practical maintenance schedule for the PooLin EOC05 to maximize uptime for Embroidery?
The best routine is one that you actually follow. Below is a professional, experience-based schedule you can adapt to your usage pattern:
Daily/Before Use: Quick visual check and remove loose lint; check thread path and bobbin supply.
Weekly: Light brush of the bobbin area if used heavily.
Monthly: Full bobbin-area cleaning and oiling of key parts (bottom of needle plate, needle bar, head joints).
Every 3 Months: Slide rail and guide rod lubrication; deeper head inspection.
Annually: Consider professional servicing—a deep internal cleaning, timing check, and inspection of electronic components and motor bearings.

Can I rely solely on manufacturer intervals?
Manufacturer guidance provides a baseline, but actual frequency should adjust to your workload. Commercial or heavy hobby use shortens intervals; light home use extends them. Log your maintenance actions—this builds institutional knowledge and helps with troubleshooting later.
Step 7: Which troubleshooting steps should I follow if the Embroidery machine still misbehaves after maintenance?
If you complete all maintenance steps and still encounter problems, use a methodical troubleshooting approach similar to what experienced technicians use:
Re-check alignment: Make sure the bobbin case, needle plate, and thread guides are correctly aligned.
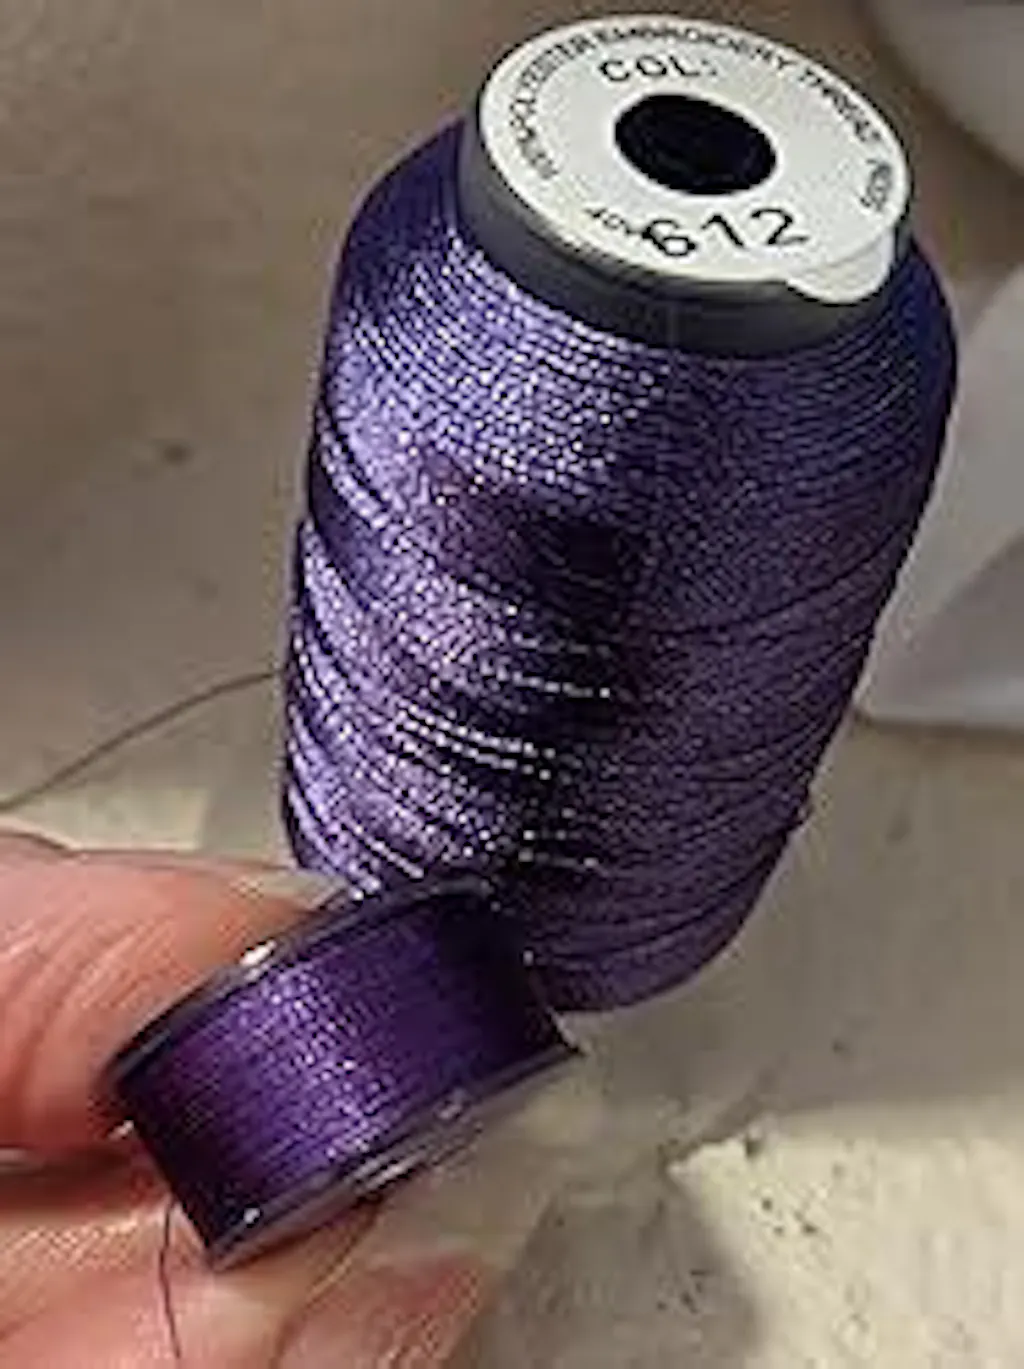
Inspect needles and thread: Replace the needle if bent or dull. Use good-quality Embroidery thread and bobbin thread.
Test tension: Run a tension test with scrap fabric and stabilizer. Re-adjust top tension if you see loops on the back or bobbin thread showing on top.
Eliminate oil-related spots: If oil transferred to fabric, wipe and re-clean the area and re-test.
Consult PooLin documentation or customer service: If mechanical noise, excessive vibration, or error codes persist, contact PooLin’s service team or a certified technician.
Which parts might require professional service?
Complex issues such as timing problems, motor faults, or electronic failures should be handled by a qualified technician. Manufacturer warranties may require authorized service providers for coverage.
Step 8: What trusted references and safety standards support this Embroidery maintenance approach?
While there isn’t a single federal "embroidery standard," these reputable American sources provide general guidance for safe tool maintenance and small machine care that apply to Embroidery machines:
U.S. Consumer Product Safety Commission (CPSC) — guidance on safe consumer product use and maintenance.
National Institute for Occupational Safety and Health (NIOSH) — recommendations on safe maintenance practices and reducing exposure to hazards when working on machines.
Manufacturer manuals and technical bulletins — PooLin’s official guidance should be followed where it differs from this general advice.
Following these authoritative sources ensures your practices are safe and aligned with widely accepted maintenance principles.
Step 9: What are the most common maintenance mistakes and how can I avoid them when doing Embroidery?
Years of experience reveal recurring errors made by beginners and intermediate users. Avoid these pitfalls to keep your PooLin EOC05 in top condition:
Using the wrong oil: Only use light sewing machine oil. Avoid multipurpose or heavy lubricants.
Over-oiling: Too much oil attracts lint and creates mess; wipe excess immediately.
Neglecting cleaning: Oiling without cleaning first traps dirt into moving parts.
Not testing after maintenance: Always run a quick test stitch on scrap to verify performance.
Loose screws: Failing to secure screws can lead to misalignment and damage during Embroidery runs.
How can you track maintenance and improve reliability?
Create a logbook (physical or digital) recording dates, tasks performed, oil types used, and any observations. Over time, you will know exactly when components should be checked or replaced. This is an industry-standard practice for small production environments and is consistent with good equipment management recommended by maintenance professionals.
Step 10: What FAQs do Embroidery machine users commonly ask about maintenance?
How often should I oil my PooLin EOC05?
For daily users: key areas monthly, guide rails every 3 months. For occasional users: check every 6–8 weeks. Adjust frequency based on dust, volume, and fabric types used in Embroidery.
What kind of oil should I use for Embroidery machines?
Use light sewing machine oil (clear mineral oil specified for sewing/Embroidery machines). Avoid household lubricants like WD-40. Always use manufacturer-recommended lubricants when available.
Can too much oil damage my embroidery fabric?
Yes. Excess oil can stain fabric and attract lint. Always wipe away extra oil and perform a test stitch on scrap fabric before starting a project.
What should I do if my machine still jams after cleaning and oiling?
Check alignment of the bobbin case (black triangle position), inspect the needle for damage, verify thread path and tension settings, and ensure no thread is trapped in gears. If unresolved, contact PooLin support or a professional technician.
Is professional servicing necessary?
Annual professional servicing is recommended for high-use machines. For hobbyists, schedule professional check-ups if you experience persistent issues or when the machine shows unusual wear.
Can I use household oil in a pinch?
No. Household or automotive oils can gum bearings and attract dust. If you must delay maintenance, at least clean the area and avoid running the machine heavily until proper sewing machine oil is available.
What recurring maintenance checklist should I follow for reliable Embroidery results?
Use this quick checklist before regular projects to prevent interruptions:
Clean bobbin area of lint
Check needle condition and replace if needed
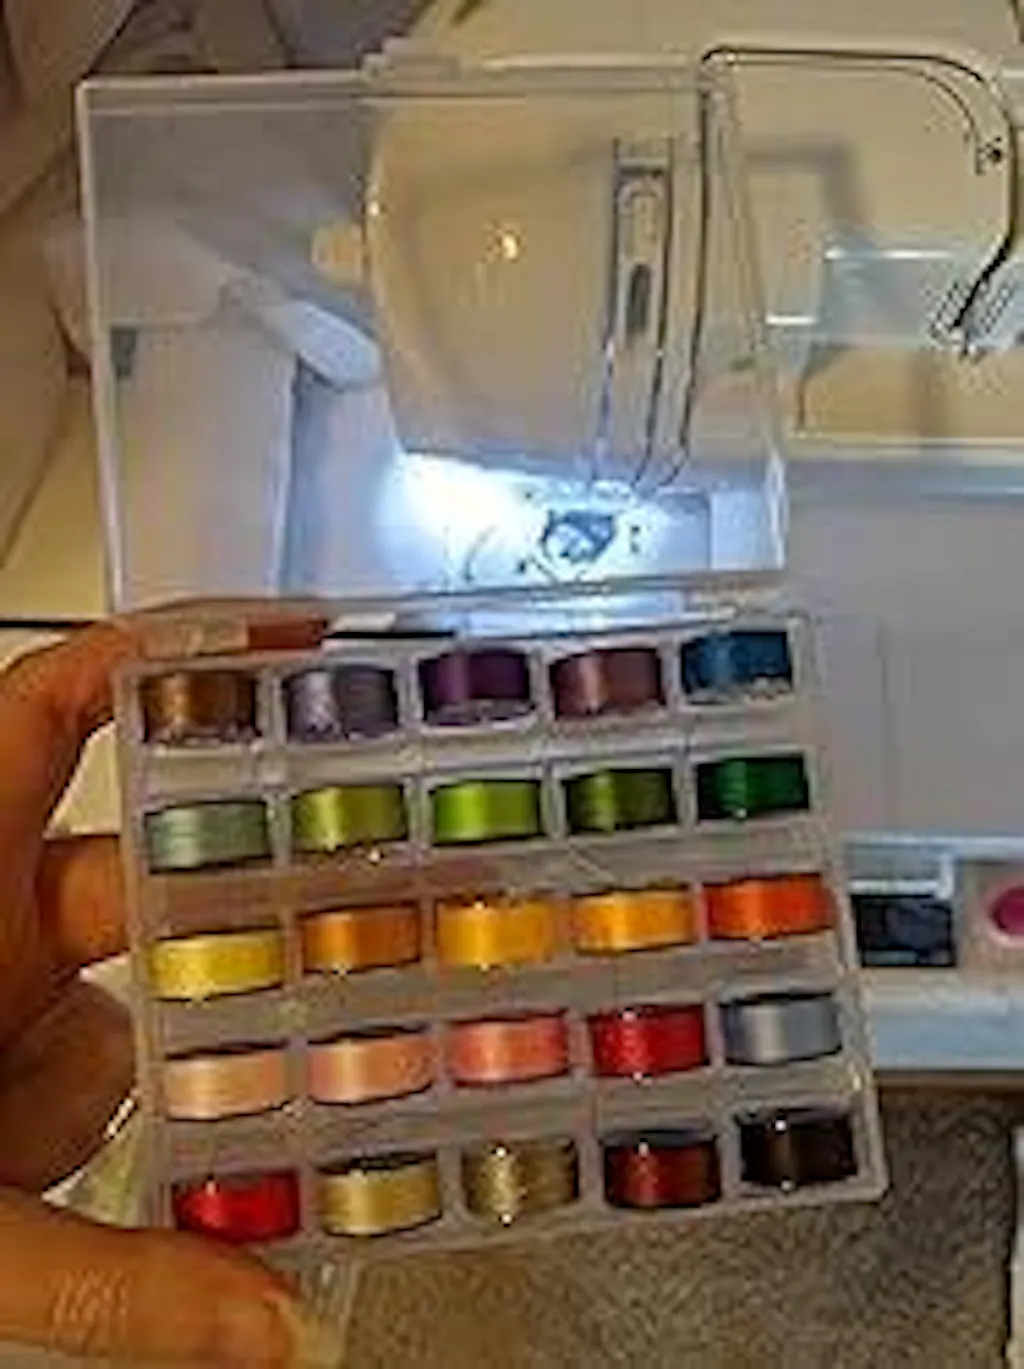
Verify bobbin and top thread quality
Confirm oil points are clean and lightly lubricated
Run a short stitch test on scrap fabric and stabilizer
Maintenance "Table" — What, How Often, and Why?
Bobbin area — Clean & oil (3 drops) — Monthly if daily use — Prevent thread jams and lint buildup.
Machine head & needle bar — Spot oiling every moving joint — Monthly if daily use — Reduce wear and maintain stitch quality.
Guide rod & slide rail — Oil & spread along rail — Every 3 months — Keep carriage movement smooth.
Quick checks — Visual and lint removal — Before each use — Avoid mid-project problems.
Conclusion: Why does regular maintenance matter for Embroidery success?
Regular maintenance is not optional—it's essential. For anyone serious about Embroidery, predictable machine behavior reduces wasted fabric and time, preserves components, and improves finish quality. Following the simple, repeatable steps in this guide—clean first, apply the right oil in targeted small amounts, wipe off excess, and test—will keep your PooLin EOC05 performing reliably for years.
Credit to PooLin for the original instructional video procedures that inspired this step-by-step professional guide. If you found this article helpful, consider watching their video for visual reference and reaching out to PooLin for manufacturer-specific guidance.

Authoritative Note
The maintenance techniques recommended here align with general equipment maintenance best practices used in textile workshops and small-scale production facilities and are consistent with guidance for safe tool use from authoritative bodies such as CPSC and NIOSH. For machine-specific warranty and advanced repairs, always consult PooLin’s official documentation or authorized service personnel.
Where can I learn more?
For further reading, consult PooLin's product pages and user manuals, review manufacturer maintenance bulletins, and review general small-machine safety and maintenance advice from the U.S. Consumer Product Safety Commission and NIOSH.
Final Screenshot Reminder

Keep a maintenance log, follow the simple schedule above, and your Embroidery projects will benefit from fewer interruptions, better stitch quality, and longer machine life.


0 comments