
When I first stepped into the embroidery industry more than 19 years ago, one of the biggest challenges I faced was understanding machine tension.
In the beginning, figuring out the right balance felt like trying to solve a puzzle without ever seeing the picture on the box. I spent countless hours testing different fabrics and thread types, often re-hooping and re-stitching until I got something that looked halfway decent.
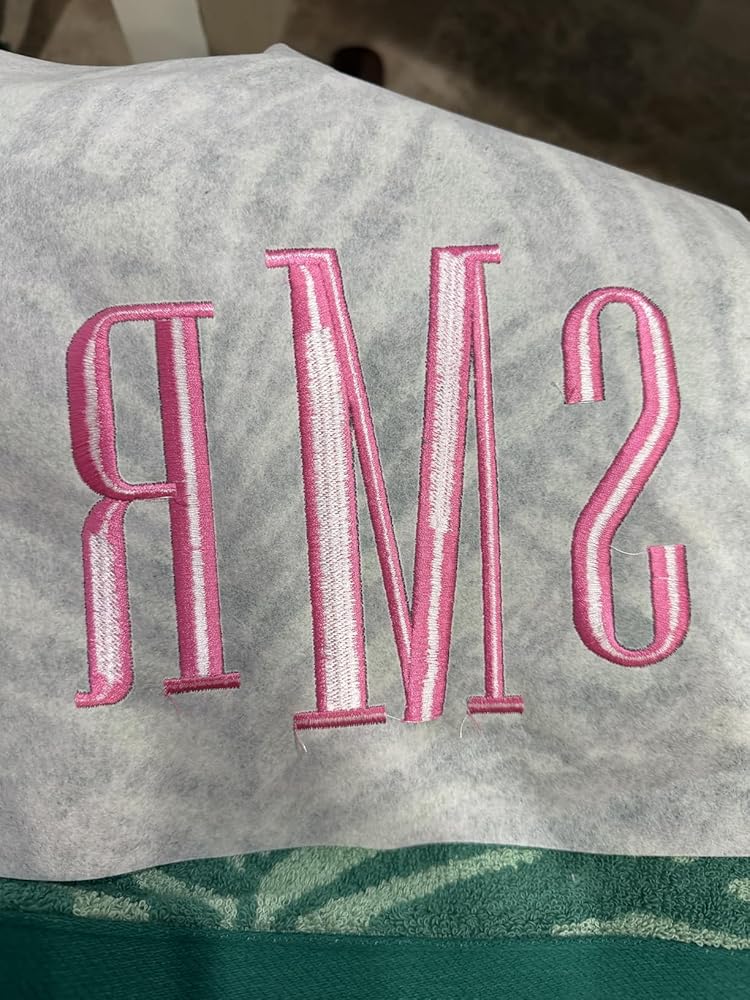
Even today, with advanced single-needle and multi-needle embroidery machines at my disposal, I can tell you from experience that every new machine still requires time and patience to fine-tune the tension. Without proper adjustment, stitches can look messy, threads break too easily, and designs lose their clarity. But once the tension is set correctly, the embroidery immediately transforms—shifting from a rough, amateur look into something smooth, professional, and reliable.
Understanding Embroidery Tension
In machine embroidery, “tension” refers to the level of tightness applied to the threads to maintain balance between the top and bobbin threads. Proper tension ensures that stitches lock securely in the fabric, resulting in clean and professional embroidery. As explained by Digitizing USA: “Thread tension in embroidery refers to the balance and tightness of the threads in three areas: hoop tension, needle thread tension, and bobbin thread tension.” (Source: digitizingusa.com) This means that embroidery tension is not limited to the top and bobbin threads alone—the hoop tension also plays a crucial role in stabilizing the fabric during stitching.
The “Tug-of-War” Analogy
Hatch Embroidery describes tension in a more visual way: “Picture it as if the two threads were engaged in a friendly game of tug-of-war… For a secure lock and seamless embroidery, both threads need to maintain a slight tension. However, it’s essential to strike the right balance between them. Too much tension from either side can lead to issues like thread breakage or fabric distortion.” (Source: hatchembroidery.com) This analogy highlights that embroidery tension is a balancing act—too tight and the fabric puckers, too loose and stitches appear messy.
How to Adjust Tension for Perfect Machine Embroidery
Every embroidery project is different. Various threads and fabrics respond differently; thus, tension adjustment cannot be seen as a one-for-all procedure. While that might look intimidating to beginners, the whole procedure is easier to handle once broken into separate steps.
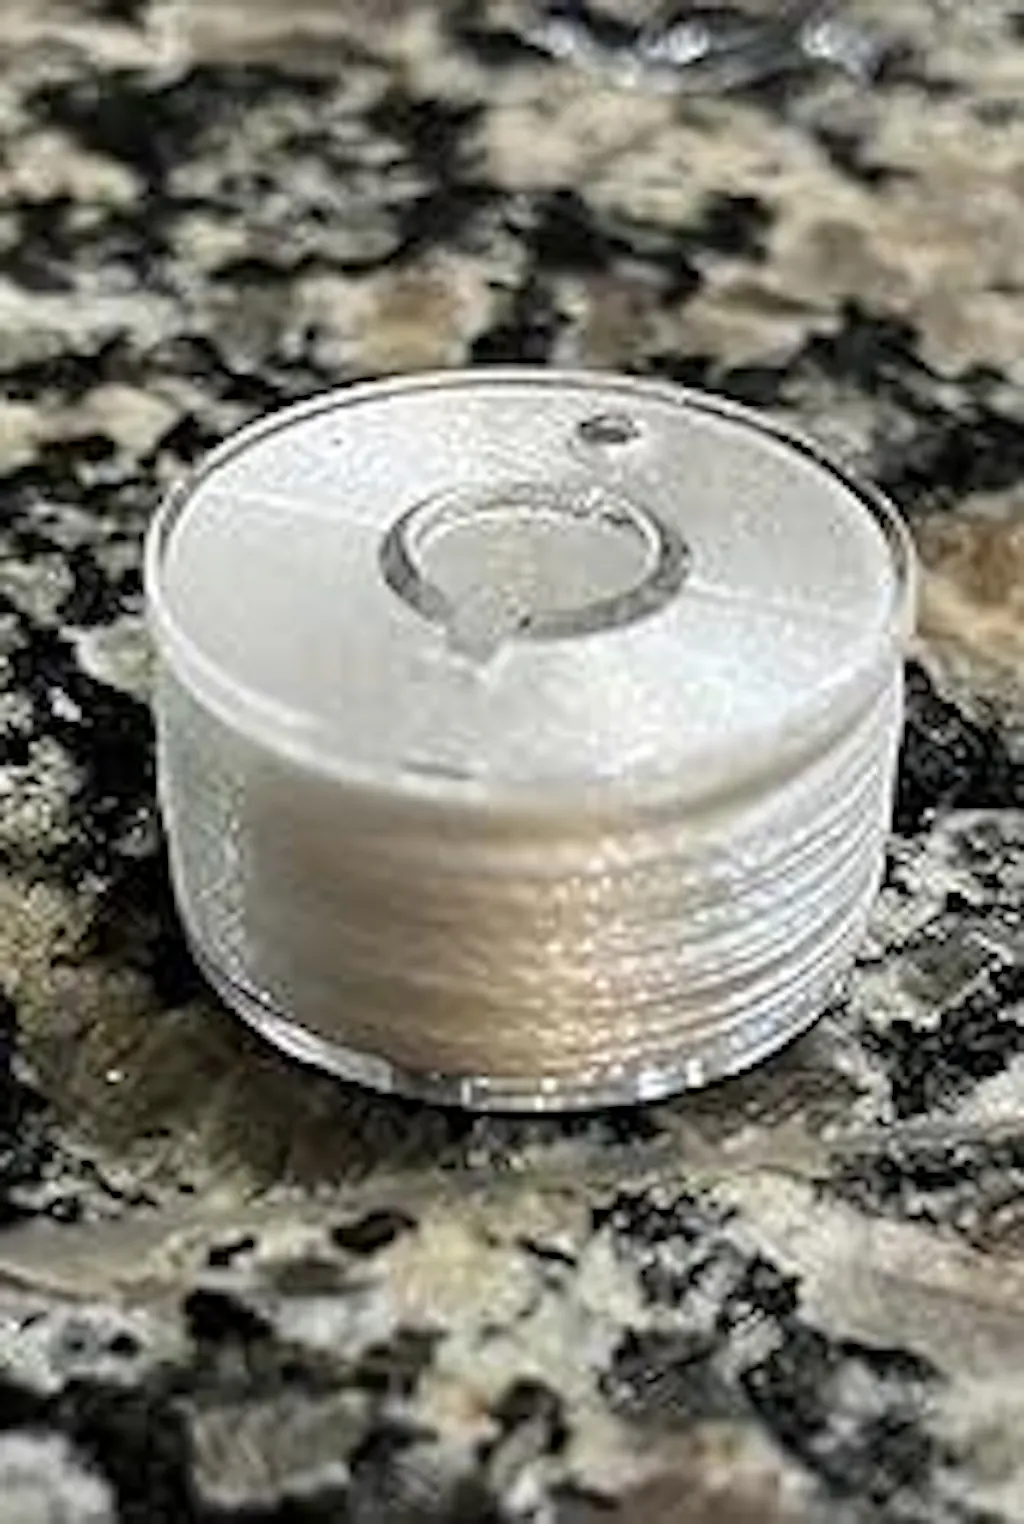
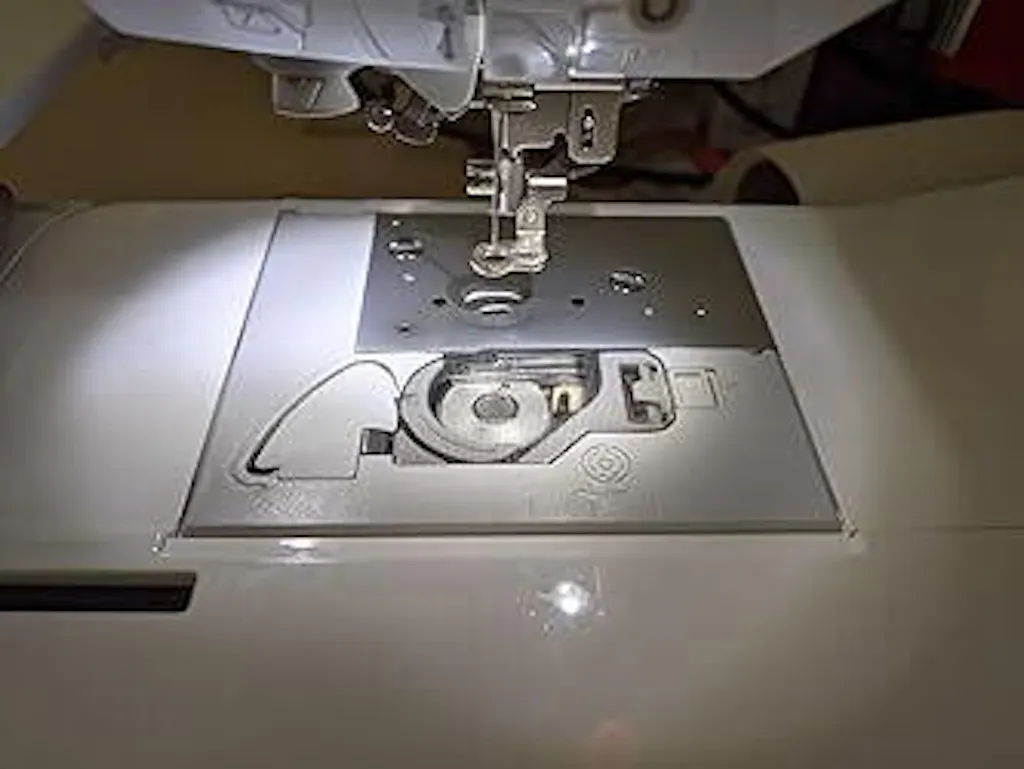
Bobbin Thread Tension: Usually Preset
- On most home single-needle embroidery machines, bobbin tension is preset at the factory.
- In normal use, there is no need to adjust the bobbin case screw.
- If adjustment is truly necessary, always follow the brand-specific instructions in your user manual. Different manufacturers (Brother, Janome, Bernina, Baby Lock, etc.) have slightly different settings and procedures.
Tips: Keep a spare bobbin case if you plan to experiment with tension, so you don’t disturb the original factory setup.
Top Thread Tension: Where Adjustments Are Made
Unlike the bobbin, the top thread tension is where you’ll make most of your adjustments. This controls how tightly the top thread is pulled as it stitches through fabric and stabilizer.
Adjustment Methods by Machine Brand
- Automatic Tension Systems: Just click on the screen to select the corresponding tension value, and the embroidery machine will automatically adjust for you
- Manual Tension Dials/Knobs: Others allow you to set tension manually.
Manufacturer Guidelines
Most brands provide a recommended tension range in their manuals. You should use this as a starting point and then fine-tune tension depending on:
- Fabric type (lightweight cotton vs. heavy denim)
- Stabilizer weight (tear-away, cut-away, water-soluble, etc.)
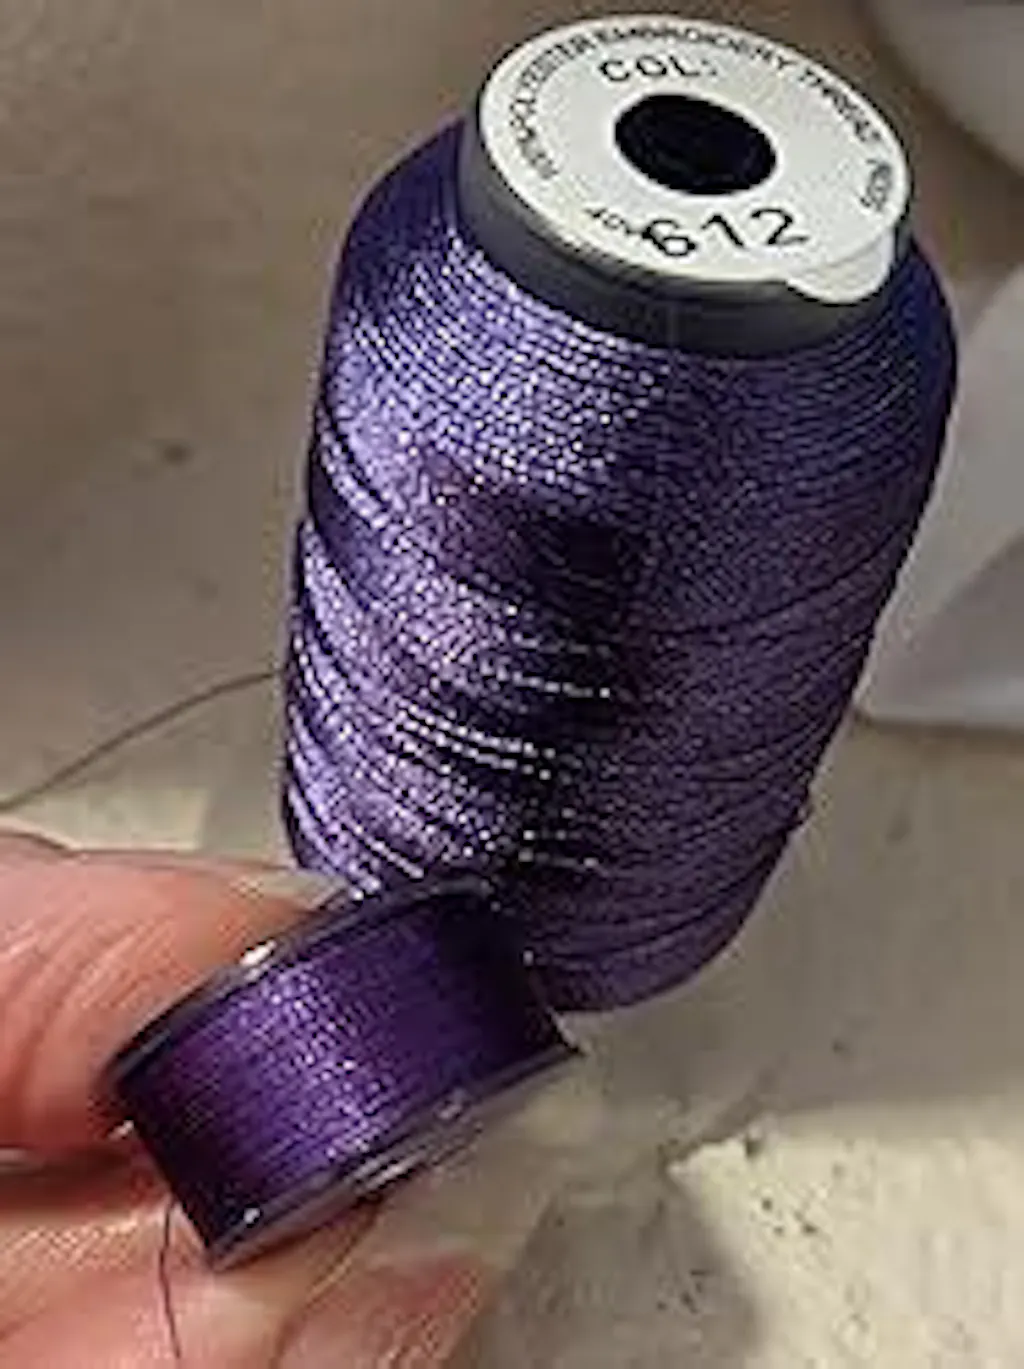
- Thread type (polyester, rayon, metallic, cotton)
How to Test for Perfect Tension
Before starting a project, always test tension with the thread brand and fabric you plan to use.
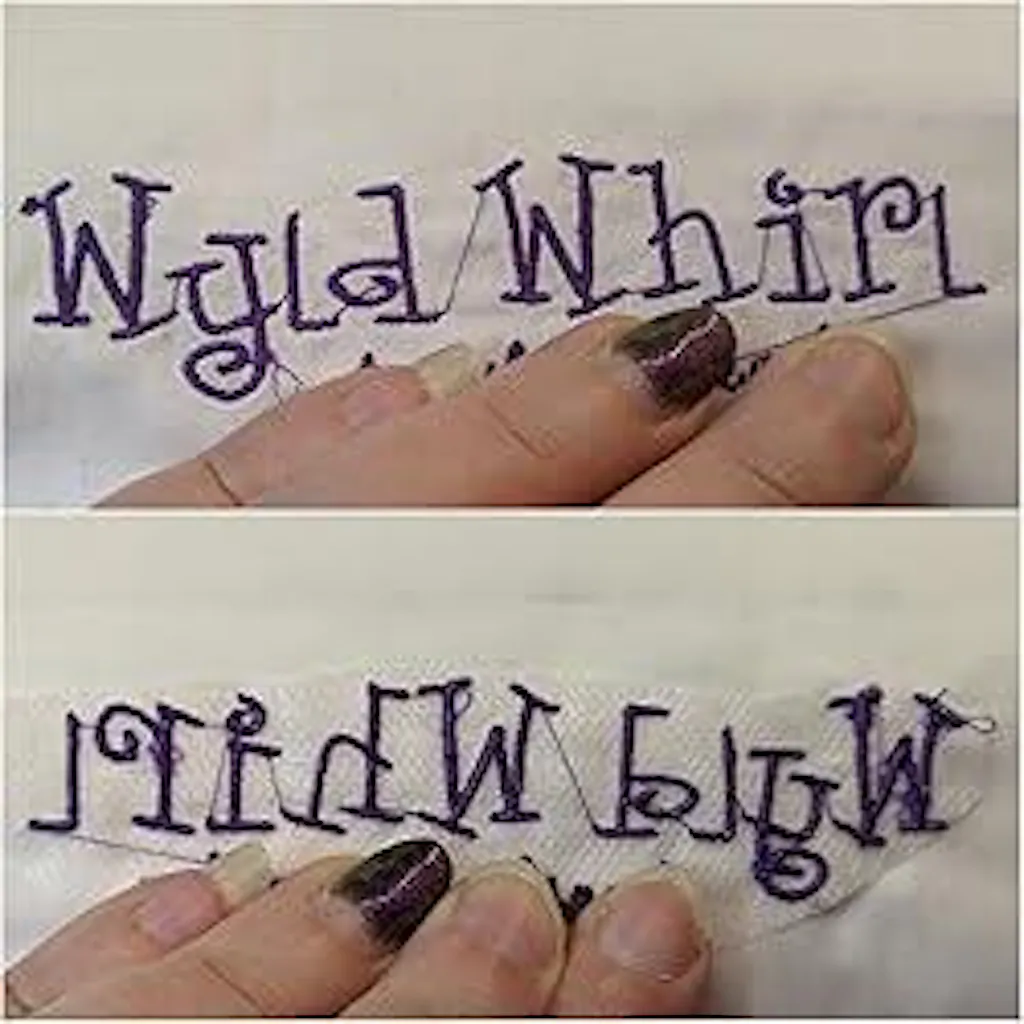
The H-Test Method
- Hoop a small portion of your fabric with stabilizer.
- Build a simple H-shaped satin column.
- Inspect the back of the embroidery:
- Perfect tension shows about ⅔ top thread and ⅓ bobbin thread.
- If you see too much bobbin thread → top tension is too tight.
- If you see looping top thread on the back → top tension is too loose.
- Inspect the front of the embroidery:
- Stitches should be smooth, even, and filled.
- No puckering or gaps should appear.
Best Methods for Home Single-Needle Sewing Machines
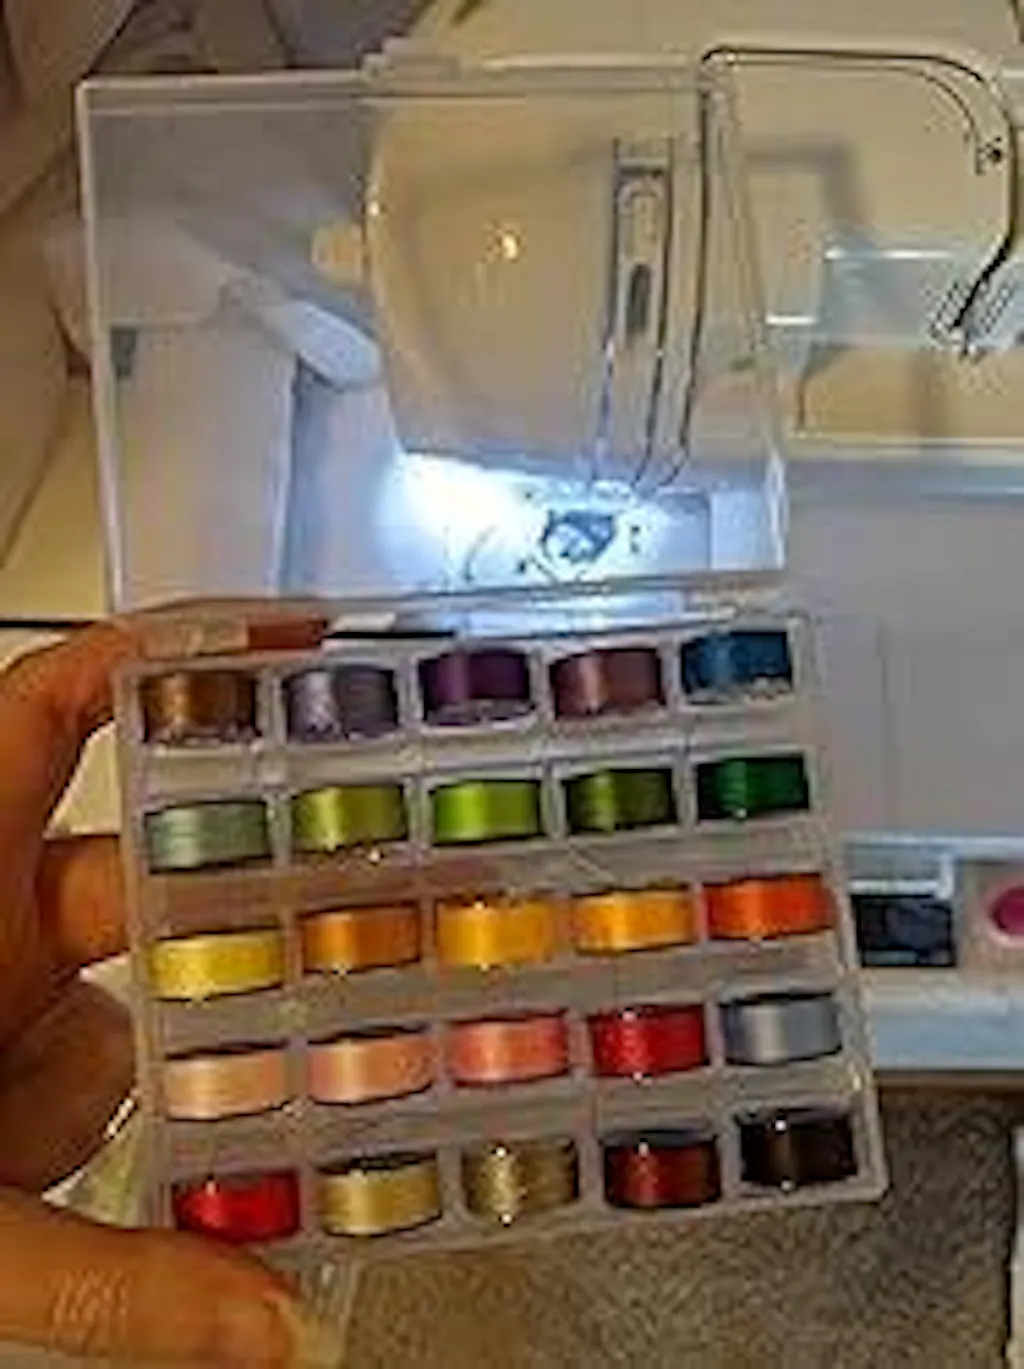
- Always use quality embroidery thread and bobbin thread.
- Match your needle size to the thread (e.g., 75/11 or 80/12 for most projects).
- Clean lint from the bobbin case regularly.
- Test tension before every new project, especially when changing thread type or brand.


0 comments