
As a professional who has worked with embroidery machines and textile production for more than a decade, I can tell you that freestanding lace embroidery is one of the most rewarding techniques you can learn. This article walks you step-by-step through creating a freestanding lace (FSL) design using a home single-needle embroidery machine—covering materials, machine settings, hooping, stitching and finishing. It is written to complement the original video by PooLin while expanding on professional tips and troubleshooting so you can confidently reproduce a clean, durable Lace Embroidery piece. This guide follows industry best practices recommended by organizations like the Embroiderers' Guild of America (EGA) and the American Sewing Guild (ASG), and aligns with the practical testing mindset encouraged by standards organizations such as NIST for measurement and repeatability. Read it carefully, follow the step-by-step sections below, and use the embedded video and screenshots to visualize each stage. For a more complete and visual demonstration, you can watch the original video tutorial at the bottom of this article.

Step 1: What materials do I need to prepare?
Before stitching a single stitch, organize your tools and materials. For freestanding lace embroidery you will need:
- Embroidery machine — a home single-needle or multi-needle machine capable of handling dense FSL designs.
- Stabilizer (wash-away) — water-soluble stabilizer in the form of film or fabric.
- Embroidery threads — polyester, rayon, or cotton (see Step 3 for pros and cons).
- Embroidery needles — the correct sizing and point style for dense work.
- Hoop — sized for your design and capable of holding the stabilizer taut.
- Scissors — small sharp scissors for trimming jumps and removing stabilizer.
- Water basin / sink and towels — to dissolve the stabilizer and dry the lace.
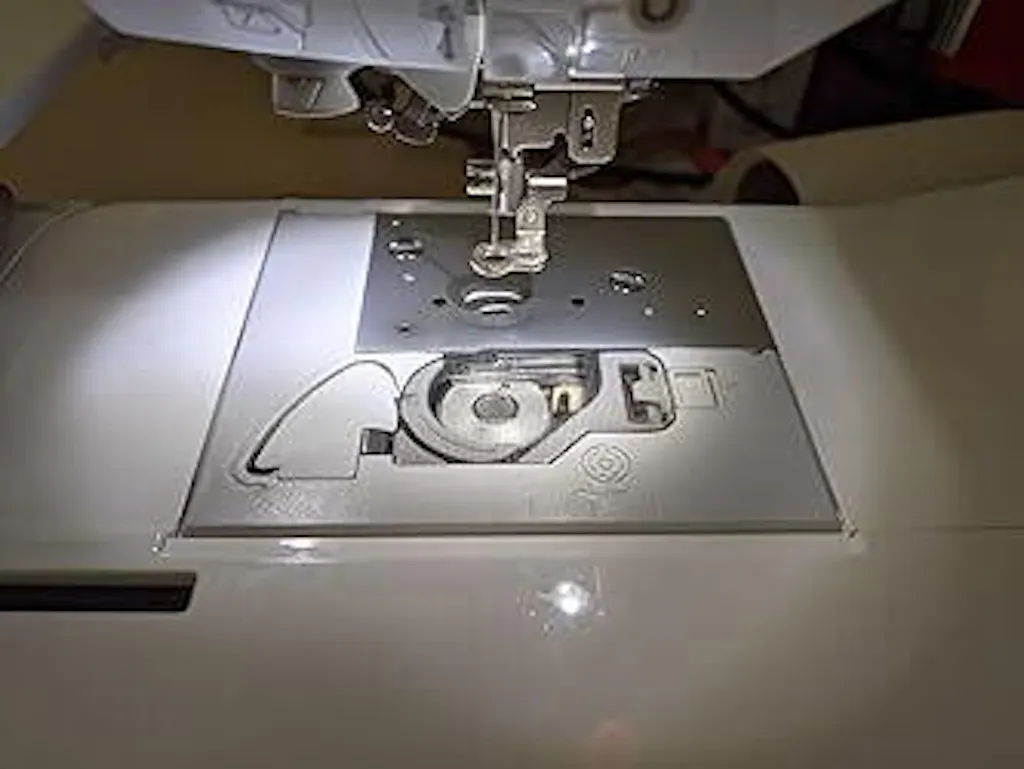
Organizing your workspace and laying out everything within reach reduces the chance of mistakes during stitching and makes finishing easier. The screenshot above shows the basic layout used in the demonstration—simple, clean and efficient.

Step 2: Which wash-away stabilizer should I choose?
Choosing the right wash-away stabilizer is the single most important material decision for successful freestanding Lace Embroidery. The video demonstrates two common options: wash-away film and wash-away fabric. Each has strengths and tradeoffs:
- Wash-away film (water-soluble film) — thin, clear, and ideal for lightweight, low-density designs. It gives crisp detail but can be fragile under heavy stitch density and machine tension.
- Wash-away fabric (water-soluble fabric backing) — has a fabric-like texture and is more durable under high stitch density. It typically withstands hoop tension better and is suited for complex FSL motifs.
What to check when selecting stabilizer:
- Thickness and stability: Select medium-weight or #6 equivalent for high-density FSL. A medium sink or #6 weight often best resists puckering and tearing during long stitch runs.
- Sealability and dissolving speed: Test how quickly it dissolves in room-temperature or warm water and whether it leaves residue. Manufacturers provide guidance; test a scrap first.
- Stretch tolerance: Gently pull a small piece by hand. If it deforms or tears easily, select a sturdier option for dense designs.
Professional tip: When in doubt, use two layers of wash-away fabric (see Step 5). The extra body reduces warping and improves the final lace structure.

Step 3: Which threads are best for freestanding lace Embroidery?
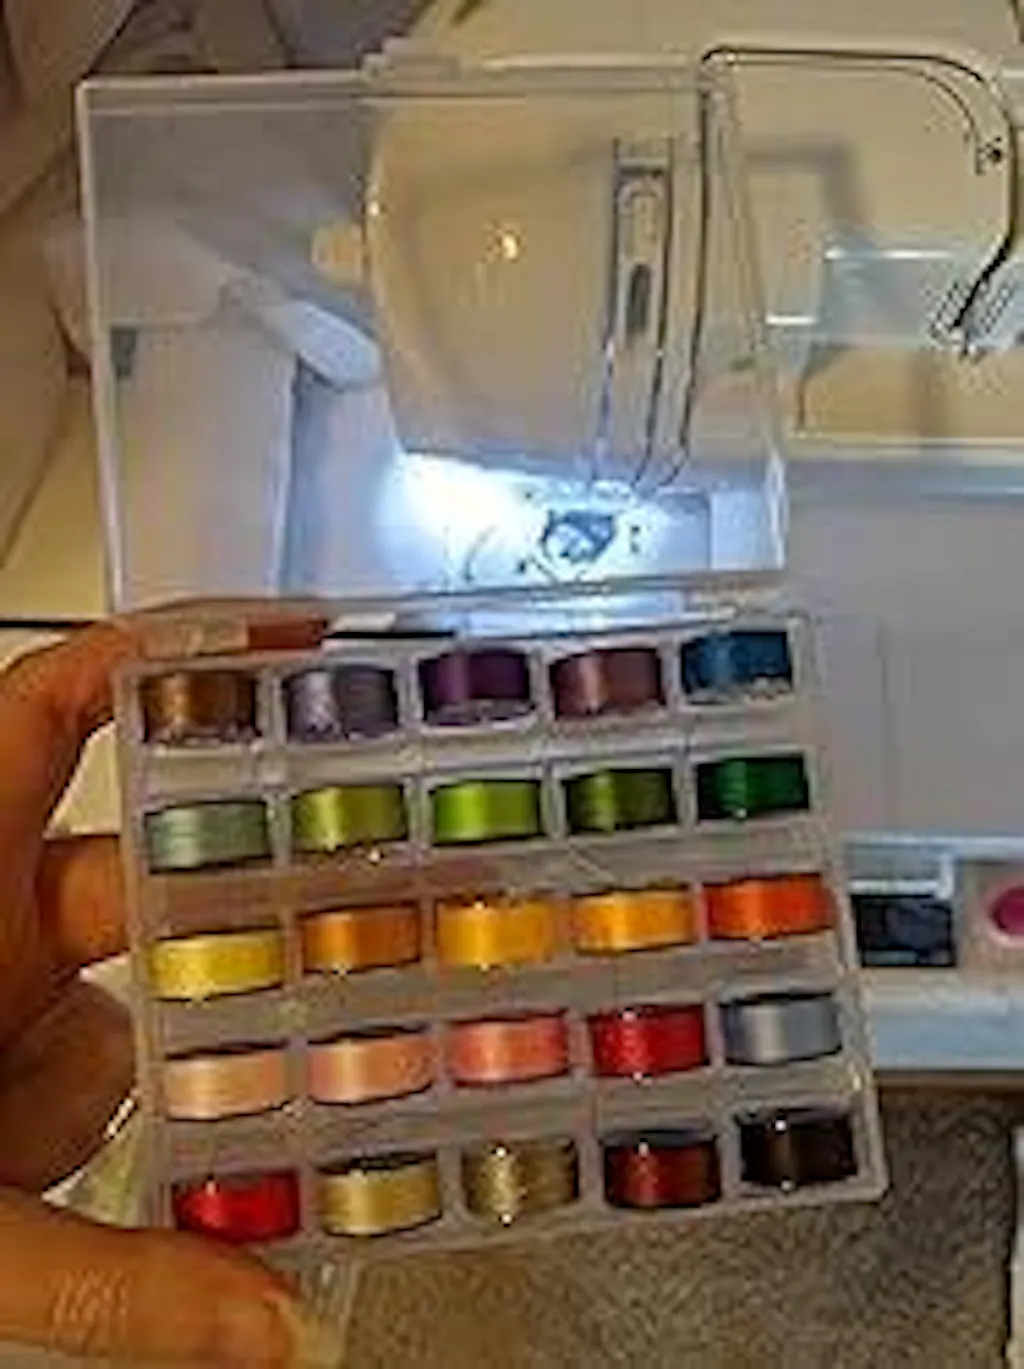
Thread choice influences appearance, durability and how the lace drapes. The video describes three primary embroidery thread types; here’s a practical comparison from a production perspective:
- Polyester thread — strong, colorfast and abrasion-resistant. Polyester is my go-to for most machine Embroidery projects because it handles tension well and is less likely to break under dense stitching.
- Rayon thread — offers a brilliant sheen and a soft finish, but is more fragile than polyester and may fuzz or fray with heavy use.
- Cotton thread — gives a matte, natural look but has lower abrasion resistance and can fuzz. It’s excellent for a vintage or soft look but requires more careful handling in dense FSL work.
How to choose:
- For crisp, durable FSL pieces that hold shape: use polyester.
- For decorative, glossy projects where sheen matters and you’re willing to handle thread breaks: use rayon.
- For a matte, handcrafted effect: use cotton, but decrease machine speed and monitor for fuzzing.
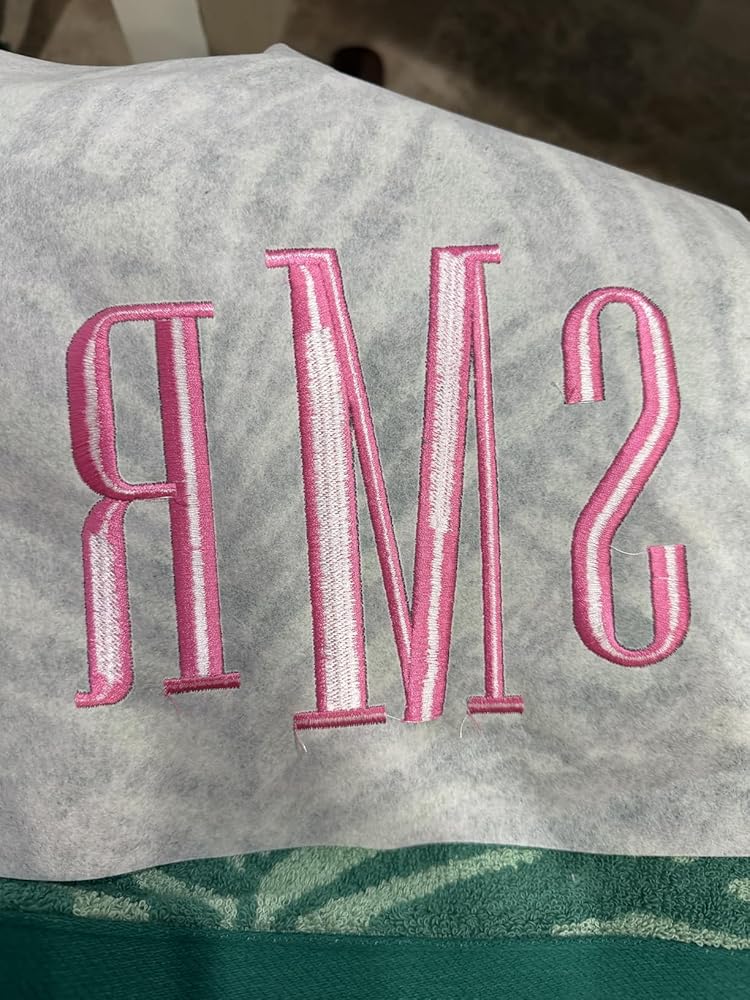
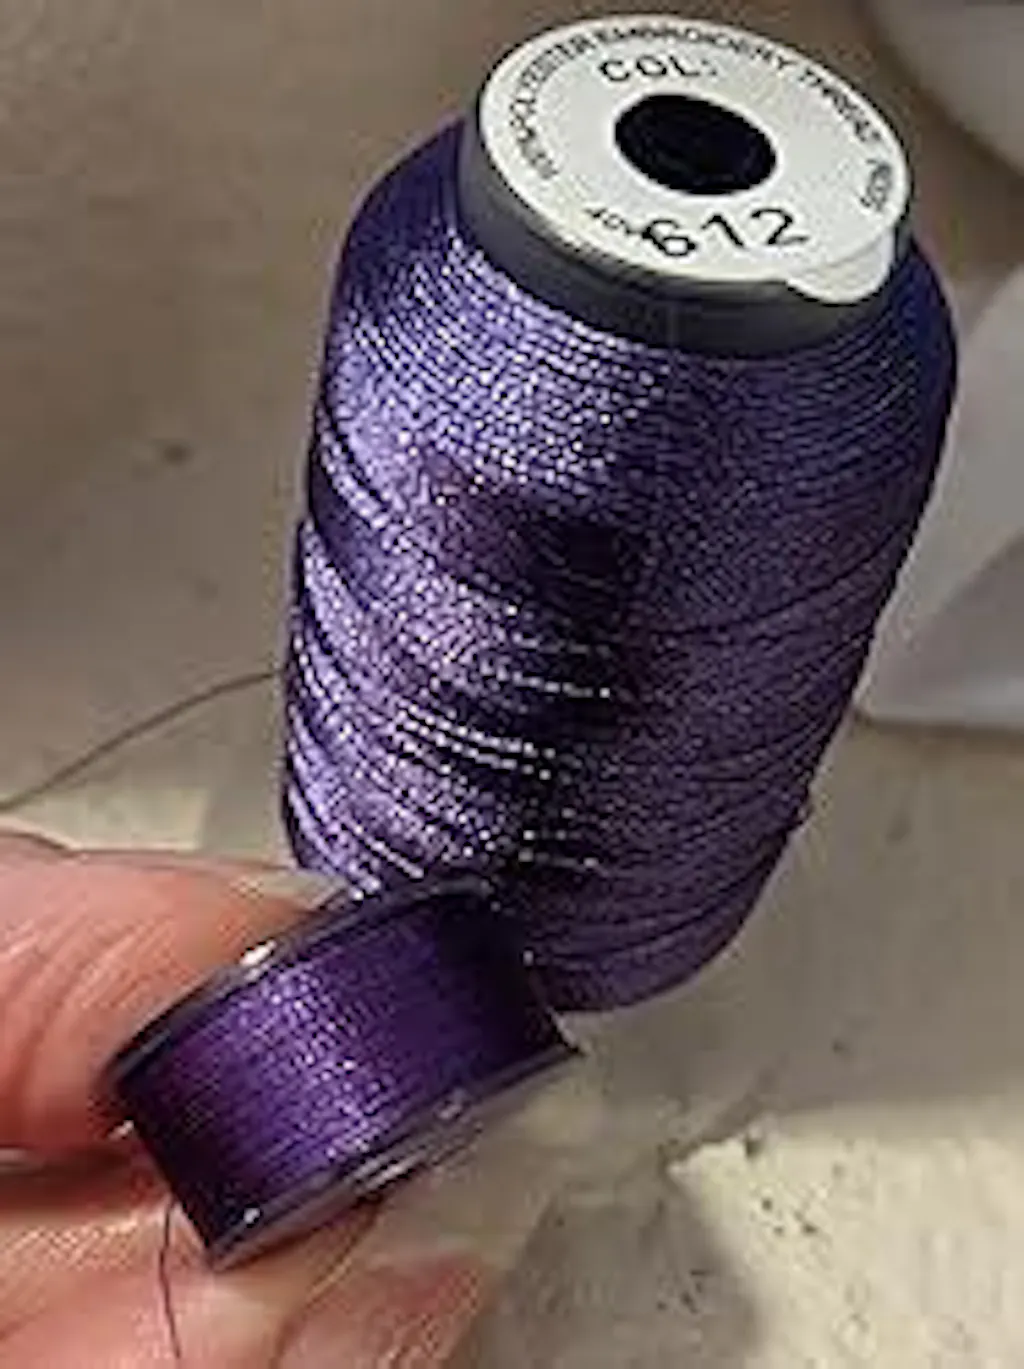
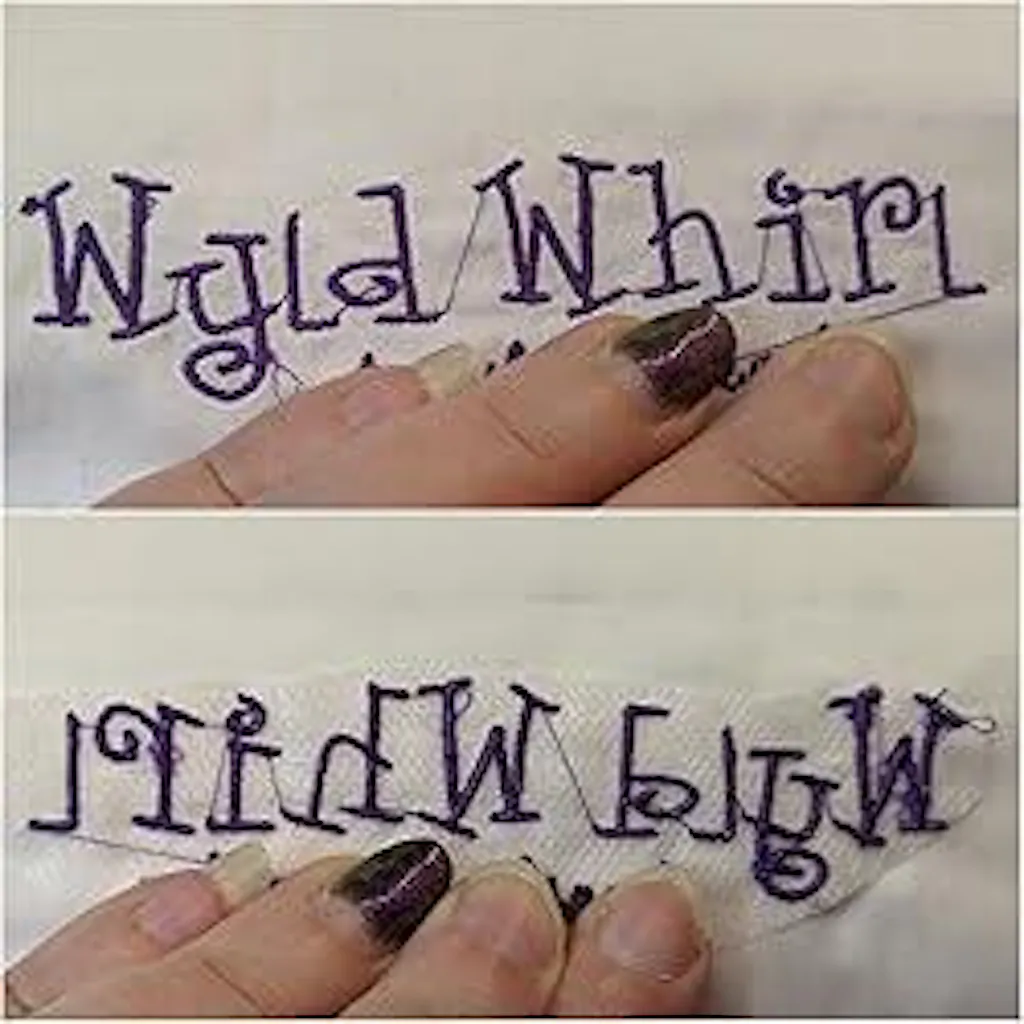
Pro tip: Always match your bobbin thread color to the top thread when creating freestanding lace—both the front and the back will be visible once the stabilizer is removed. The video highlights this point: a matching bobbin makes the finished lace more cohesive and professional looking.

Step 4: Which needle should I use for dense FSL designs?
Needles matter for penetration, stitch quality and minimizing damage to water-soluble stabilizer. Common needle sizes encountered in home embroidery machines:
- 90/14 — often supplied with machines (e.g., EOC06 bundle). Good for general work but can be aggressive for dense FSL.
- 75/11 — a finer needle commonly recommended for dense Freestanding Lace because it reduces pressure and tearing of the stabilizer.
In the video, the creator switches from the machine’s default 90/14 to a finer 75/11 to reduce the chance of tearing while stitching dense areas. This is a solid rule-of-thumb: select the smallest needle that still accommodates your thread without causing excessive friction or breaking. Pro safety tip: Replace any bent or dull needles before each project. A fresh, sharp needle minimizes thread breakage and prevents skipped stitches.

Step 5: How should I hoop wash-away stabilizer for best results?
Correct hooping is essential. The video uses two layers of wash-away stabilizer (folded and cut to size) for extra body. Follow these steps:
- Fold the wash-away stabilizer in half and cut to the hoop size (two layers increase stability).
- Place the stabilizer between the inner and outer hoop, making sure it is smooth and flat.
- Tighten the hoop until the stabilizer is taut like a drum—this reduces wrinkles and prevents the design from shifting during stitching.
- Double-check the hoop tension after a few stitches; wash-away stabilizer can shift if not evenly seated.
Why two layers? When creating freestanding lace, the design is entirely thread-based. High-density satin stitches and fill areas place significant tension on the base. Two layers reduce the risk of the stabilizer tearing under pressure and maintain shape during long stitch runs.

Step 6: What design settings and machine adjustments should I make before stitching?
Design selection and machine settings determine both the quality of the finished piece and the chance of errors. Key points highlighted in the video are:
- Design choice: Begin with a simple, small FSL design (the video uses an angel). Complex motifs with floating elements and high density should be reserved until you have more experience.
- Stitch speed: Slow your machine to 500–600 stitches per minute for FSL. Lower speeds give the stabilizer time to settle under dense stitching and reduce thread breakage.
- Tension: Adjust the top thread tension to a value that produces balanced stitches. In the video the operator sets the tension to 18—this is a starting point; always test and fine-tune using a sample.
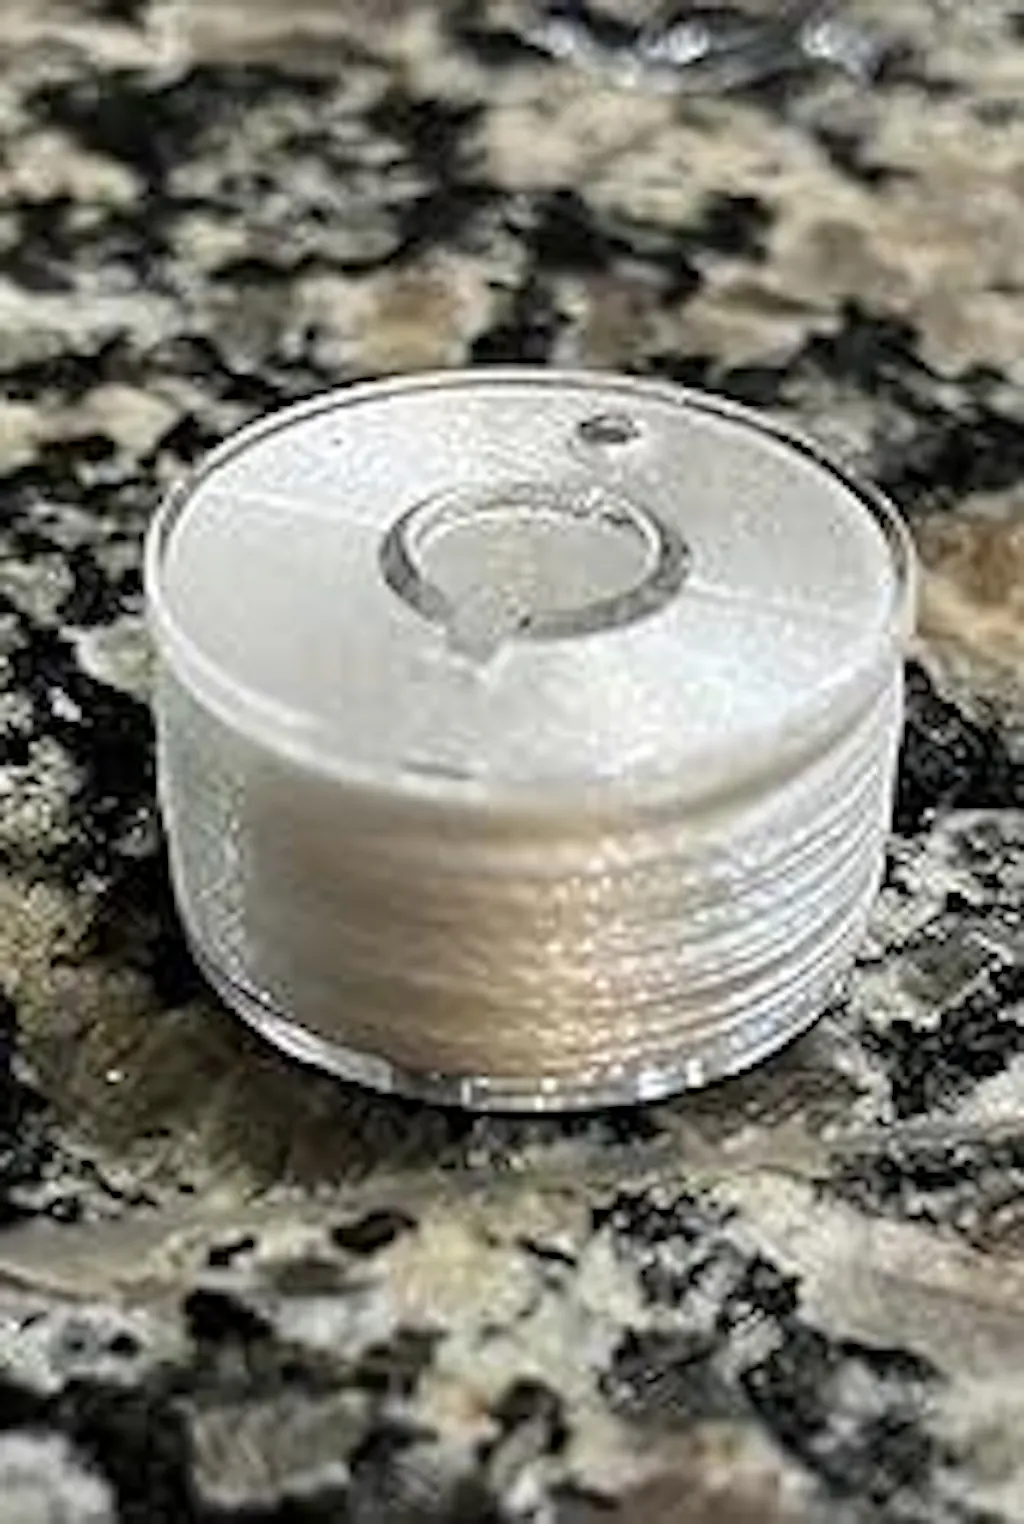
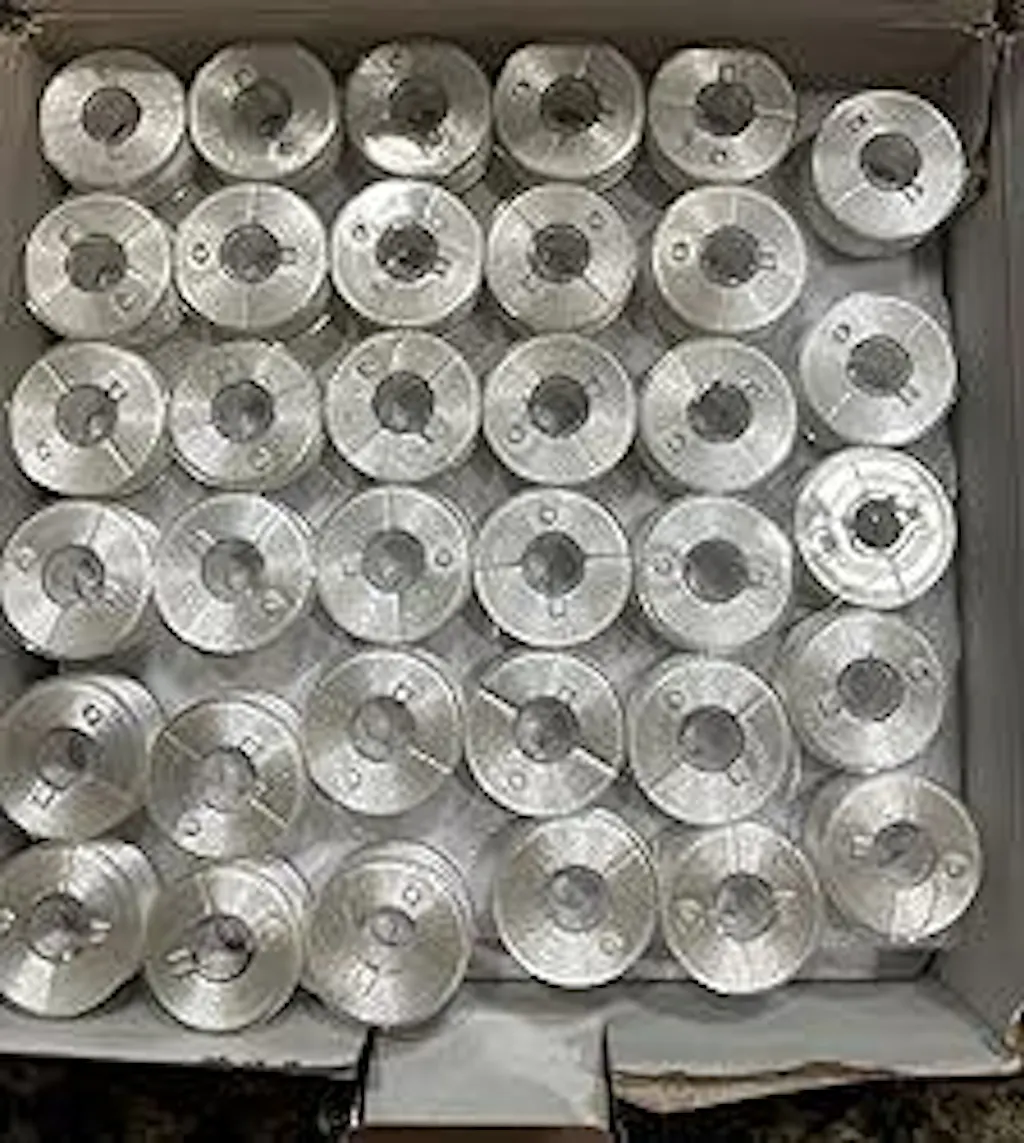
- Bobbin color: Use a bobbin thread that matches top thread color to keep both sides of the lace attractive. If you don’t have matching bobbins, pre-wound bobbins or winding your own help match the look.
Testing: Run a test stitch-out on a scrap piece of stabilizer using the same design, thread and needles before committing to the final run. Testing is an industry-standard practice endorsed by professional guilds and manufacturers to ensure predictable results.

Step 7: How do I monitor the embroidery run to avoid problems?
During stitching you should watch for common issues and intervene early:
- Thread breaks: Slow the machine or stop and replace the needle if thread starts breaking frequently.
- Stabilizer tearing: If the stabilizer begins to tear, stop immediately and re-hoop using additional layers or choose a heavier stabilizer.
- Jump stitches: Trim jump stitches carefully during the run if your machine and design allow for pauses; otherwise wait until stitch-out is complete.
- Unbalanced stitches: If the back shows excessive bobbin loops or top thread shows on the back, re-check tension and run a quick H-test (described later in troubleshooting).
Pro tip: Keep a small container of spare needles, extra bobbins, and a threader near your machine. Quick interventions during a stitch-out prevent wasted time and ruined runs.

Step 8: How should I remove and finish a freestanding lace Embroidery piece?
Finishing transforms the stitched structure into a delicate, finished lace piece. The video demonstrates a safe finishing sequence—follow these steps:
- Once stitching is complete, remove the hoop from the machine and take the stabilizer and lace out of the hoop carefully.
- Trim away excess stabilizer close to, but not too near, the stitching. Leave a small buffer to avoid cutting stitches.
- Rinse the piece in warm water to dissolve the wash-away stabilizer. Gently rub with your fingers to remove residue—do not scrub vigorously since lace can be fragile.
- Use a towel to absorb excess moisture. Lay the lace flat on a towel or drying rack to air dry. For more precise shaping, gently pin the lace to a towel in the desired form while drying (only if the design requires specific shaping).
- Once completely dry, press lightly if required using a low-heat iron with a pressing cloth to avoid flattening the lace’s texture.
Tip: If the stabilizer dissolves slowly, use slightly warmer water, but keep the temperature moderate so the thread and colorfastness are not affected. Always follow the stabilizer manufacturer's guidelines for recommended water temperature and dissolving technique.

Step 9: What troubleshooting and professional tests should I use for Embroidery quality control?
A professional approach includes testing and logging results so you can reproduce success. Below are methods I use in production and recommend for every embroiderer:
H-test (quick tension check)?
Create a simple H-shaped satin column on a scrap hooped stabilizer and inspect both sides:
- Balanced tension: back shows about ⅓ bobbin thread visibility and ⅔ top thread.
- Too much bobbin thread on top: top tension too tight.
- Loops of top thread on back: top tension too loose.
Stabilizer dissolution test?
Take a small sample of the stabilizer, submerge in the water temperature you plan to use, and time the dissolution. If residue remains after recommended time, try a different stabilizer or adjust water temperature per manufacturer guidance.
Needle and thread compatibility test?
Test the needle size with your chosen thread on a scrap design. If the thread shows fuzzing or frequent breakage, increase needle size slightly or switch thread type. Industry note: Documenting your successful combinations of thread type, needle size, stabilizer and tension is a best practice strongly recommended by guilds such as EGA and ASG. Keep a project log.
Quick production checklist?
- Needles: fresh, correct size (e.g., 75/11 for dense FSL).
- Threads: quality polyester or rayon, wound correctly on bobbins.
- Stabilizer: tested and double-layered where needed.
- Hoop tension: stabilizer taut like a drum.
- Machine settings: speed 500–600 SPM, tension pre-tested.
Step 10: What advanced tips will make my freestanding lace last longer and look more professional?
Beyond the basics, these professional tips improve durability and aesthetics:
- Consider a light finishing spray: For small, stiffening effects, a water-soluble fabric stiffener sprayed lightly before the final dry can give structure without altering the embroidery thread's look.
- Use monofilament in selective areas: For near-invisible bridges or supports, clear monofilament can be incorporated into the design during digitizing.
- Digitizing considerations: Properly digitized overlap and tie-offs prevent loose ends once the stabilizer is removed. If you’re not digitizing yourself, choose designs created for FSL by reputable designers.
- Store lace flat: Folded storage can crease delicate pieces; store flat or in acid-free tissue for best preservation.
Pro insight: When designing or purchasing FSL patterns, look for files specifically tagged "FSL" and check user reviews. Not all embroidery designs translate well to freestanding lace without digitizer adjustments.
Sample project log (pseudo-table)?
- Project: Angel FSL
- Machine: Home single-needle (Poolin EOC06)
- Top thread: Polyester #40, Color 752
- Bobbin: Polyester match
- Needle: 75/11
- Stabilizer: Wash-away fabric, 2 layers
- Speed: 550 SPM
- Tension: 18 (starting) — H-test verified
Step 11: What safety and maintenance practices are essential for reliable Embroidery?
Routine machine maintenance reduces surprises during long stitch-outs. Follow these practices:
- Regularly clean lint from the bobbin area and tension discs.
- Replace needles between projects or after 6–8 hours of stitching.
- Keep spare bobbins wound and labeled to match top thread colors.
- Document and follow manufacturer maintenance intervals for your machine—consult the user manual for model-specific instructions.
From a safety perspective, handle needles and scissors carefully and keep a covered container for used needles. These are common recommendations echoed by national sewing and craft organizations in the U.S.
Frequently Asked Questions (FAQ)
What is freestanding lace Embroidery and how does it differ from regular embroidery?
Freestanding lace (FSL) is an embroidery technique where the design is stitched onto a water-soluble stabilizer and the stabilizer is removed, leaving a lace structure made entirely of thread. Unlike regular embroidery, which secures stitches to fabric, FSL relies on stitch density, support structures and proper finishing to ensure the piece holds together once the stabilizer is dissolved.
Which stabilizer is better: film or fabric?
For simple and lightweight designs, wash-away film may be preferable for crisp details. For denser or larger FSL projects, wash-away fabric (fabric-like stabilizer) provides better body and less risk of tearing. Many professionals default to a fabric-type wash-away for larger lace because it is more forgiving under tension.
Can I use metallic thread for freestanding lace?
Yes, but metallic threads are more fragile and require slower speeds, larger needles specifically for metallics, and possibly specialized tension adjustments to prevent breakage. Test thoroughly on scraps first.
How do I prevent the lace from deforming after washing?
Dry the lace flat, using towels to absorb moisture, and pin lightly to shape while drying if needed. Avoid wringing or aggressive rubbing. If additional shape is needed, use a light fabric stiffener or a gentle pressing with a cloth over the lace on a low iron setting.
What machine settings should I document in my project log?
Record machine model, thread types and brands, needle size, stabilizer type and layers, bobbin color, stitch speed, tension value, and any special notes like whether you used pre-wound bobbins or changed machine feet. These details make reproducing success much easier.
How can I learn to digitize designs properly for FSL?
Digitizing FSL requires creating supports, appropriate underlay, and tie-offs that work without fabric support. Seek instruction from reputable digitizing courses or communities and practice with simple designs. Look for digitizers who provide files specifically labeled for freestanding lace.
Conclusion: Why should you try freestanding lace Embroidery today?
Freestanding lace is a beautiful and versatile technique that expands what you can create with an embroidery machine. Once you understand the materials, machine settings and finishing techniques—especially stabilizer selection, needle choice and proper hooping—you’ll be able to create delicate, stable lace pieces that look professional. The steps in this guide mirror the practical workflow from the original PooLin video, but also add professional testing, quality control and troubleshooting tips to help you succeed faster. For a quick reference while you practice, re-watch the video and pause at the screenshots included in this article to compare your setup. If you found this guide helpful, consider subscribing to PooLin's channel for more tutorials, and keep a project log for every Embroidery piece you make—it’s the mark of a professional approach. Credits: This article expands on the video tutorial by PooLin and includes professional best practices informed by resources from the Embroiderers' Guild of America (EGA) and American Sewing Guild (ASG). Always consult your machine manual and stabilizer manufacturer for product-specific recommendations.


0 comments