
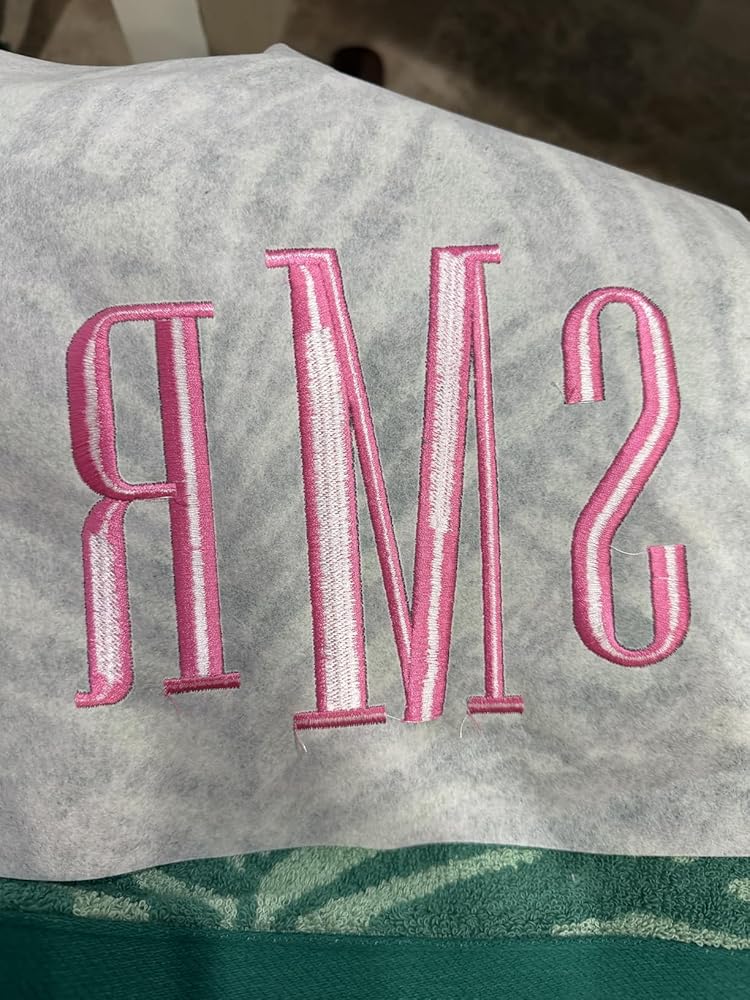
As a professional embroiderer with more than 15 years working across home and commercial single-needle and multi-needle machines, I've tested countless techniques to deliver clean, reliable, and beautiful embroidery results. In this guide I’ll walk you through a step-by-step tutorial to create a hoodie appliqué using the Poolin EOC06 / UC-six style workflow shown by PooLin, adapted with additional pro tips, material recommendations, and troubleshooting advice that will help beginners avoid common mistakes.
Whether you’re adding a personalized patch to a baby onesie, a custom logo to a hoodie, or a unique gift design, appliqué embroidery is a fast way to add color, texture, and durability to garments. This article explains the full process—from planning and placement to hooping, stitching, applying fusible web, trimming, and finishing—so you can confidently reproduce the project and adapt it for other fabrics and designs.
Step 1: What materials and tools do I need to start appliqué embroidery on a hoodie?

Gathering the right materials before you begin saves time and prevents mistakes. For this hoodie appliqué project I recommend the following:
- Hoodie or garment to embroider (pre-washed to reduce later shrinkage).
- Appliqué fabric (light to medium weight cotton or knit blends work well; specialty fabrics like faux leather or felt also work).
- Fusible webbing (heat-activated adhesive sheets or tape; brands vary—use one suitable for apparel).
- Appropriate stabilizer: for hoodies, a medium-weight cut-away or heavy tear-away stabilizer is ideal to prevent stretching.
- Embroidery hoop sized to the design—e.g., 7.9 x 11 in (the presenter used a light hoop of that size).
- Embroidery design file in machine format (DST or DSP for Poolin EOC06/UC-six).
- USB drive for transferring the design to the machine.
- Sharp scissors or appliqué snips for trimming.
- Heat iron for fusible webbing, and pressing cloth if using sensitive fabrics.
- Marking tools (black chalk, ruler, and a fabric-safe marker for placement).
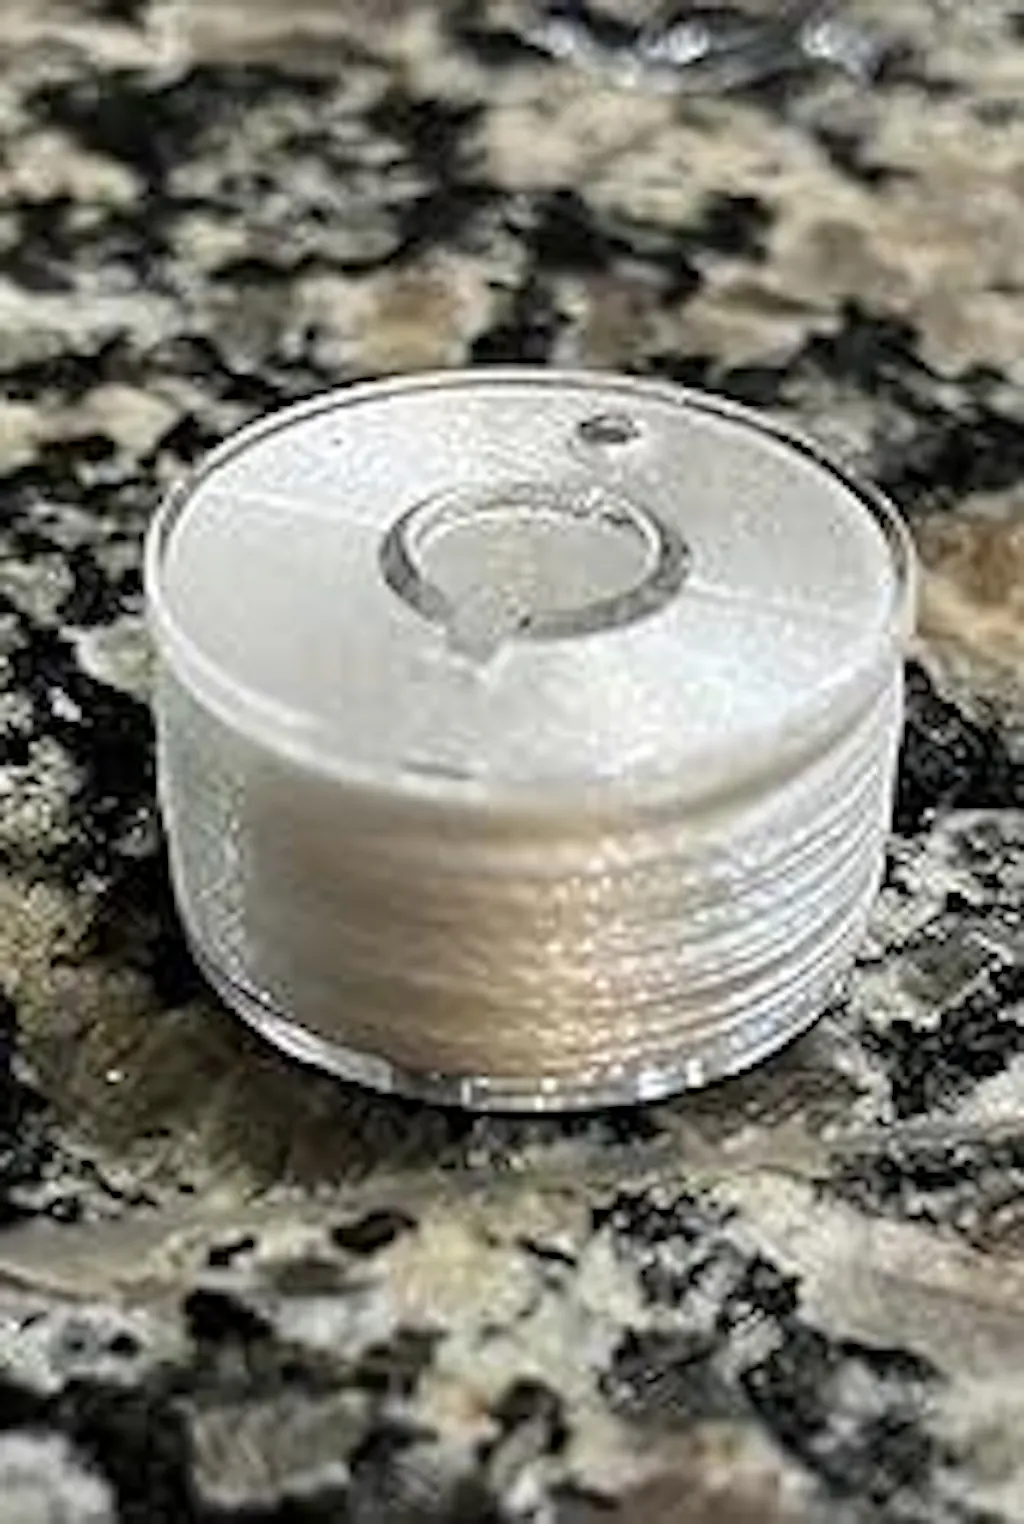
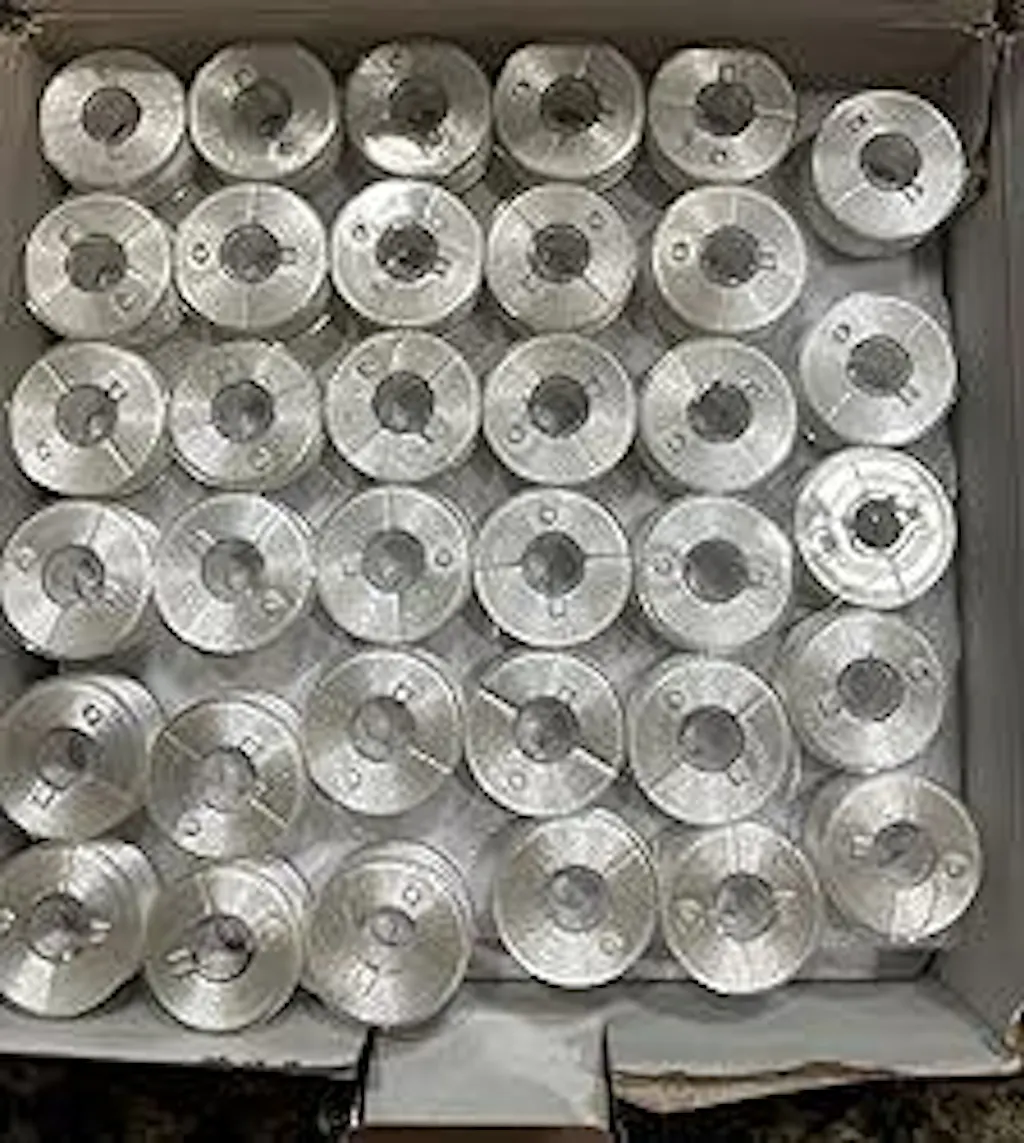
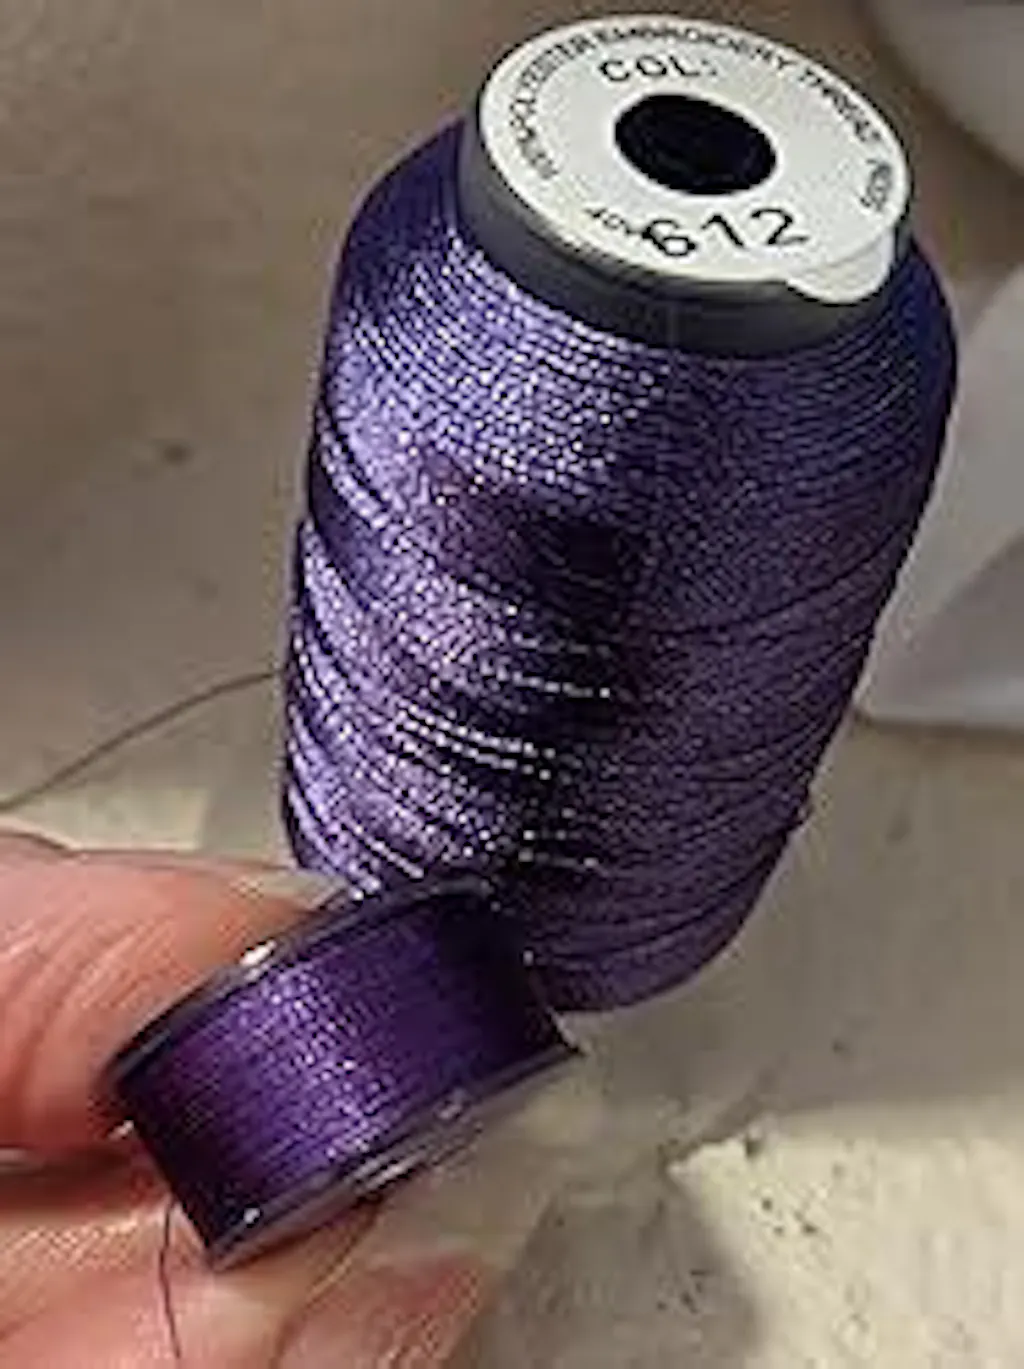
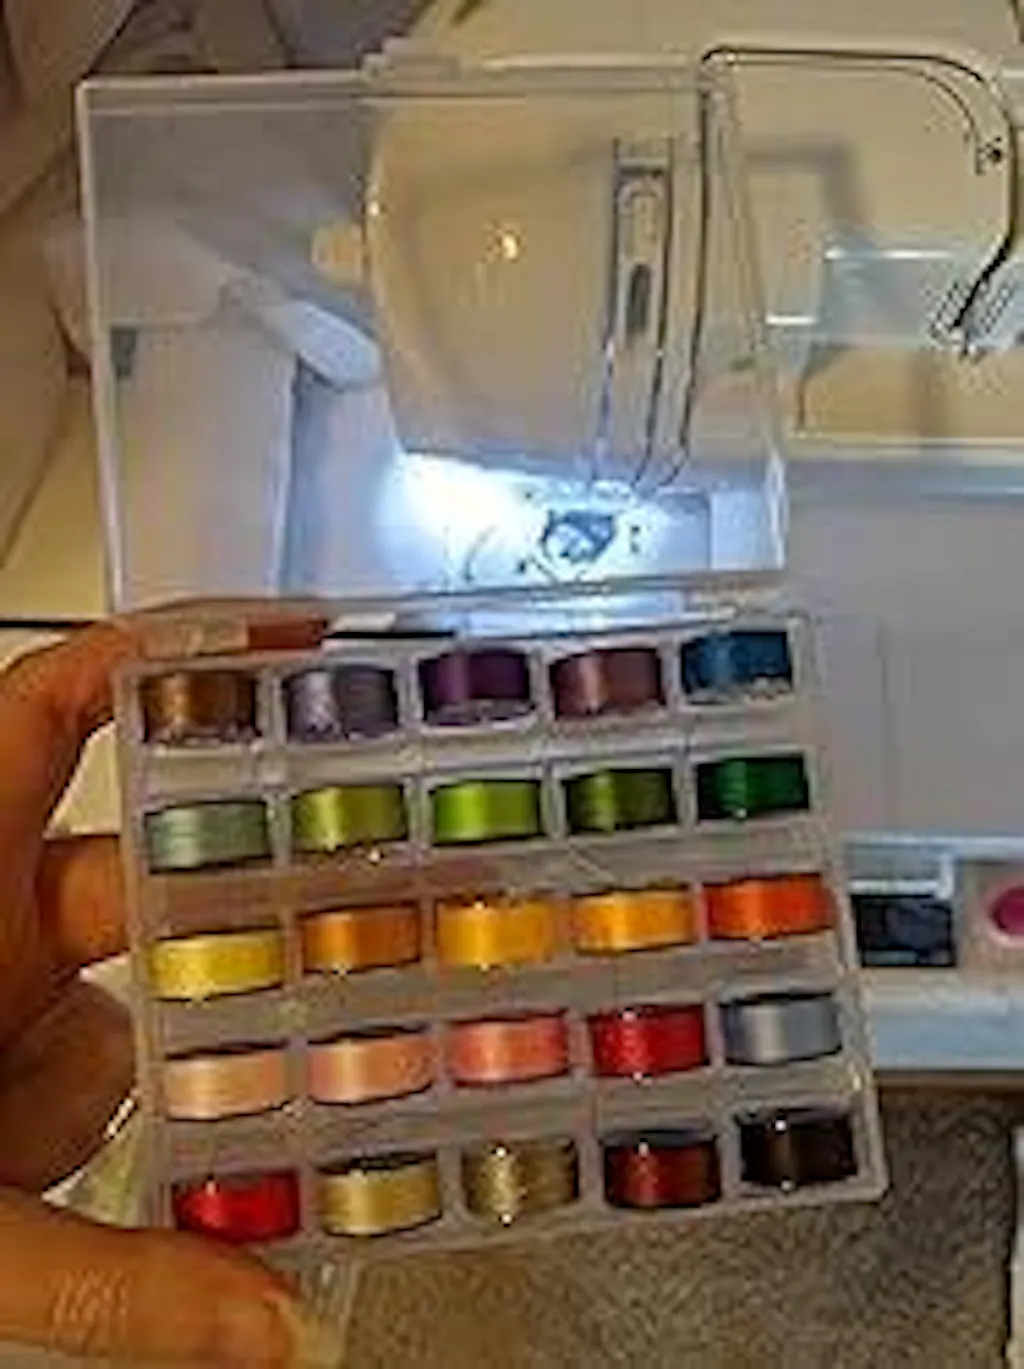
- Extra bobbins and quality embroidery thread (polyester or rayon depending on sheen preference).
- Needles sized for your thread and fabric (typically 75/11 or 80/12 for most hoodie projects).
Pro tip: Keep an “appliqué kit” with spare needles, contrasting thread colors, fusible web, and a small pair of curved scissors so you don’t break your workflow mid-stitch.
Step 2: How do I determine the perfect embroidery placement on a hoodie?
Placement is one of the easiest things to get wrong—but it’s also the most noticeable mistake if done poorly. Follow these steps for precise alignment:
Fold the hoodie in half lengthwise so the front aligns perfectly. This creates a faint center crease you can use as a vertical center guide.
Open the hoodie and mark that center with a small fabric-safe stroke or chalk line.
From the printed PDF or the design properties, note the design dimensions (for example, 16.3 cm height × 20.2 cm width as used in the demo).
Using a ruler, measure from the neckline or another consistent reference point to determine the vertical distance where you want the design centered (e.g., X cm below the neckline).
Mark the exact center point for embroidery with a removable mark; this is where the needle will be aligned.

Why measurement matters: garments can stretch differently at seams, and a design positioned too high or too low can make the piece look unbalanced. For repeatable results, document the measurement from the collar to the center of the design so you can replicate the placement across multiple garments.
Step 3: How do I prepare and transfer the design file to the Poolin machine?
Most home embroidery workflows follow this simple transfer routine:
Download the design from the trusted source (the presenter used the Ritual website in the demo).
Confirm machine compatibility: Poolin EOC06/UC-six reads DST (most reliable) and DSP formats. If your design is in another format (e.g., PES), convert it to DST using reliable software.
Insert a USB drive into your computer, copy the DST file to the drive, and safely eject it.
Insert the USB drive into the Poolin machine and import the design via the machine’s control panel (LISP or the import function described in the user manual).
Choose an embroidery hoop on the machine that closely matches your design size—this maintains proper registration and reduces re-positioning during stitching.

Pro tip: Keep a copy of the original PDF (print or digital) with the exact dimensions so you can cross-check the file’s scale before stitching. Using DST supports machine-level stitch ordering and color sequence, simplifying the appliqué workflow.
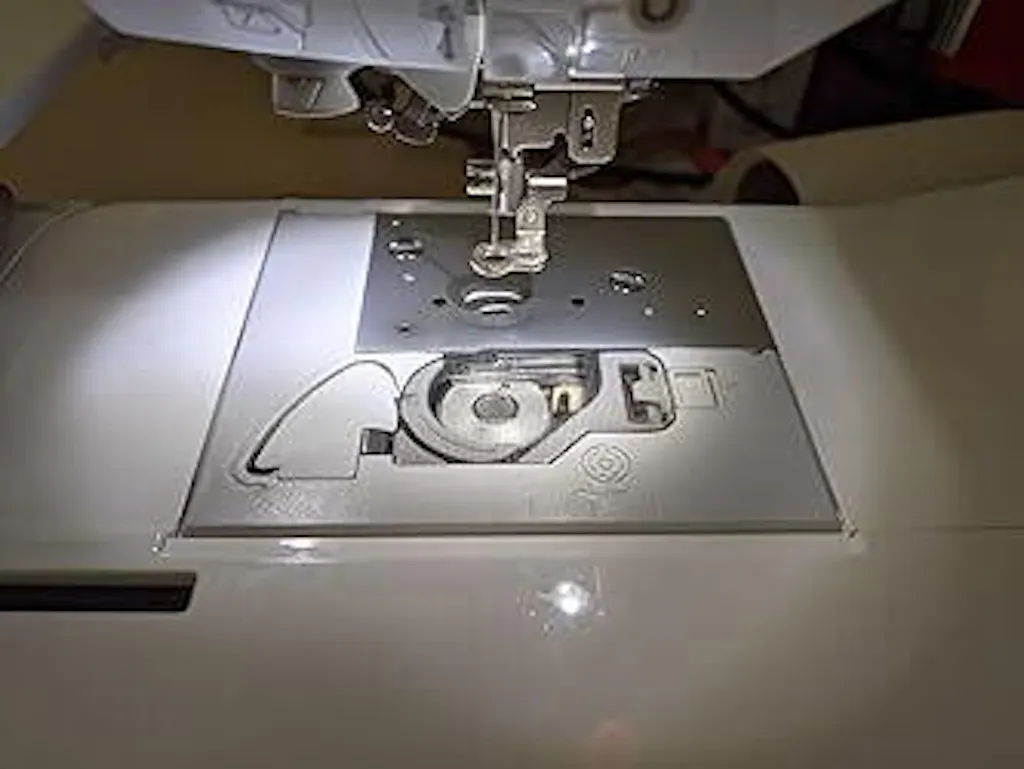
Step 4: How do I hoop the hoodie and install the stabilizer correctly?
Hooping a knit garment such as a hoodie requires a delicate balance: taut enough to keep the fabric flat but not so tight that the knit stretches out of shape.
Cut the stabilizer to at least the size of the inner hoop. For hoodies I usually choose a medium cut-away stabilizer to maintain long-term stability, especially if the design will be washed often.
Place the stabilizer on the inside of the hoodie behind the marking point. If the hoodie has a seam or thick area, rotate the hoop to an even area of fabric if possible.
Loosen the hoop screws, position the fabric (stabilizer underneath), and ease the outer frame onto the inner frame. Tighten screws so the fabric is flat and taut like a drum but avoid overstretching—knits will warp if pulled too tight.
Check the fabric’s plane visually and by gently pressing—it should return to neutral when released.
Attach the hoop to the machine and confirm the needle is at the hoop center. Re-align the needle to the center mark you made on the hoodie.

Standards and safety note: the American Association of Textile Chemists and Colorists (AATCC) recommends testing for dimensional stability and colorfastness before committing to permanent adhesives and heat. When using fusible web and ironing, follow the textile supplier's recommended heat and dwell time to avoid fabric damage.
Step 5: How do I align the needle and start the first embroidery pass?
Needle alignment is critical for accurate appliqué placement and for ensuring subsequent stitch passes lock down the appliqué fabric properly:
With the hoop attached, jog the machine’s needle to the hoop center position (the machine will report the hoop center on the screen).
Carefully move the needle to the marked center on the garment (this often uses the machine’s manual jog buttons or touchscreen alignment). Confirm the X/Y position so the design will stitch where you determined earlier.
Use the machine’s “set start point” or “confirm position” button to lock the coordinate system.
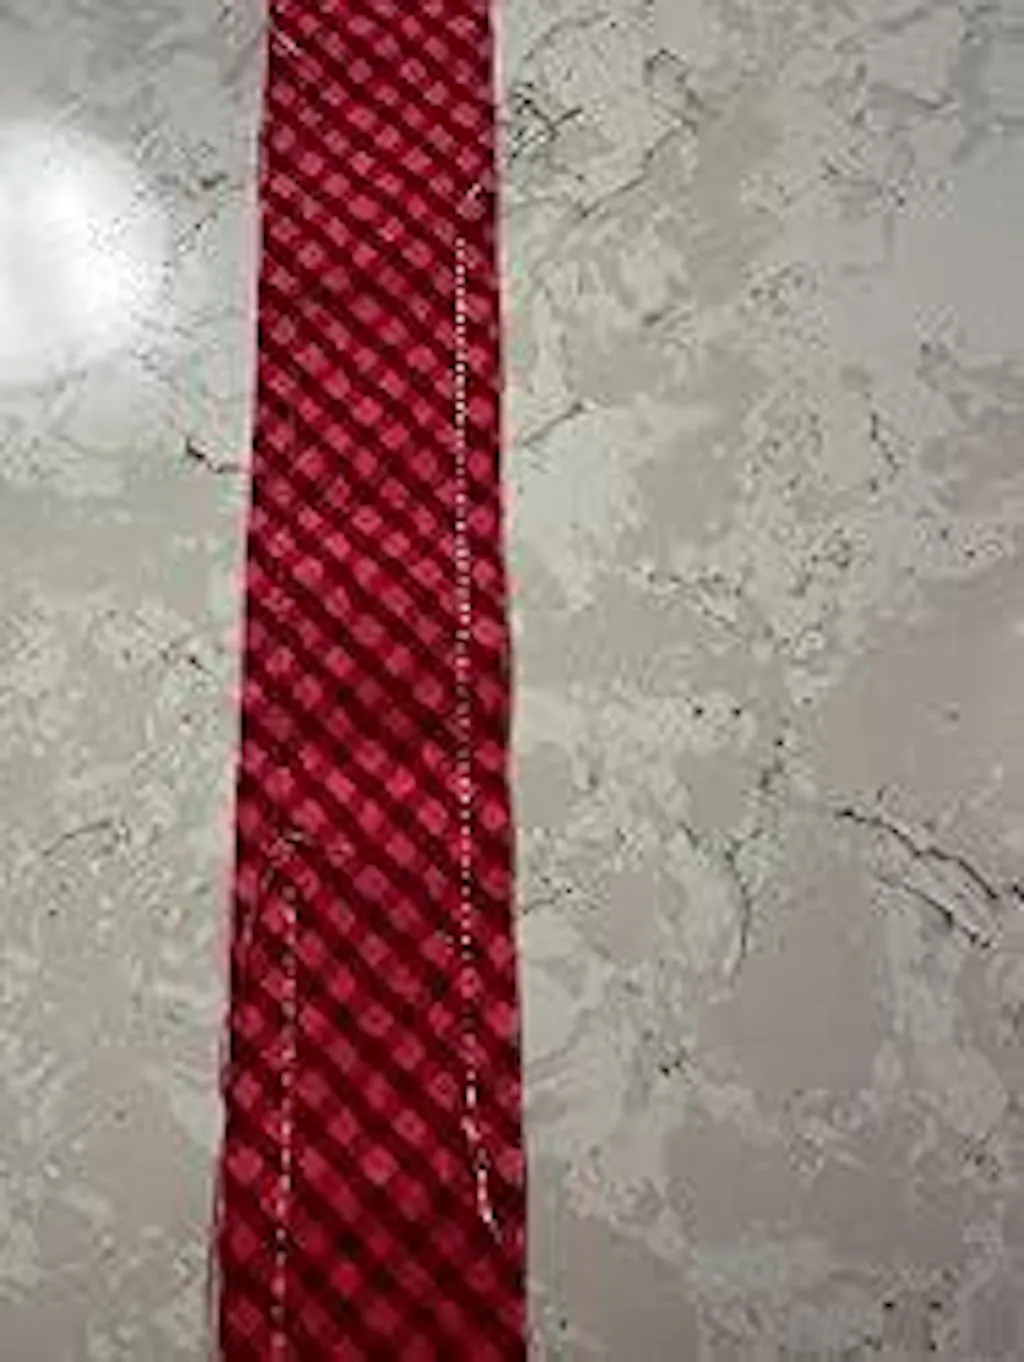
Begin stitching the first pass—the machine will usually sew a tack-down or outline stitch to mark and hold the appliqué placement.

What to expect on the first pass: the machine frequently lays down a running or basting outline that becomes the guide for placing your appliqué. At this point do not be tempted to cut or attach anything until the machine stops and the outline is complete.
Step 6: When and how should I apply the appliqué fabric and fusible web?
Applying the appliqué occurs after the machine completes the initial outline stitches. The goal is to temporarily or semi-permanently secure the appliqué fabric so the next stitch passes lock it in place.
After the first pass finishes and the machine stops, take your prepared appliqué fabric and cut a piece slightly larger than the stitched outline.
On the back of the appliqué fabric, apply a layer of fusible webbing following the manufacturer’s instructions. Usually you iron the fusible onto the fabric for a few seconds with medium heat using a press cloth.

3. Peel the paper backing from the fusible webbing and carefully position the appliqué piece over the outlined area on the hoodie.
4. The machine will resume stitching the next pass, which normally includes a secure tack-down or satin stitch around the appliqué perimeter.

Pro tip: For delicate fabrics or to avoid shine on knits, press the appliqué with a lower heat and longer exposure using a protective cloth between the iron and fabric. If you’re using high-poly fabrics (faux leather, vinyl), use a thin teflon pressing sheet.
Step 7: How and when do I trim the appliqué fabric for clean edges?
Trimming is typically performed right after the machine finishes the second pass, which will outline the exact edge to follow. Accurate trimming is what makes appliqué look professional.
Stop the machine and carefully remove the hoop from the machine if it improves access (only if the hoop can be reinstalled exactly; otherwise trim with the hoop still attached).
Using sharp scissors or appliqué snips, cut the appliqué fabric close to but not beyond the satin stitch or outline stitch. Start with large areas first, then move to smaller, intricate areas.
Trim slowly and follow the stitch line—keeping a small allowance prevents accidentally cutting the tack-down stitch.
After trimming, return the hoop to the machine and let the machine complete the final satin or finishing stitches.

Safety & quality note: Always keep the scissors point away from your fingers and the machine hardware. Test one small practice appliqué first to know how close you can safely trim without clipping thread.
Step 8: How do I finish and tidy the embroidery for a professional result?
Finalizing the appliqué step involves completing the machine's final stitch sequence, trimming loose threads, and checking the underside for neatness.
Run the machine’s final pass to stitch the satin or finishing edge that secures the trimmed appliqué.
Remove the hoop and trim any loose threads on both front and back. A short burst with an air blower removes lint without disturbing stitches.
Inspect the back side of the hoodie. Trim jump stitches carefully or use a lightweight tear-away stabilizer on the backside if excessive bulk is present.
Press the finished area lightly from the front with a pressing cloth to flatten satin stitches and remove minor puckering.
Inspect the finished appliqué from at least two feet away to check balance and placement—small misalignments are more visible at arm’s length than in close-up photos. Many times a placement issue is perceptual and based on the overall garment composition; testing on a similar garment helps build confidence.

Step 9: What professional tips and troubleshooting steps reduce mistakes when doing appliqué embroidery?
This chapter consolidates years of field experience and practical standards-related guidance to help you avoid the most common errors beginners face.
What should I know about stabilizer selection and handling?
For knit garments like hoodies, a medium cut-away stabilizer is usually best because it preserves stitch integrity through washes. Tear-away can be used for low-stress designs but may not hold up over time.
Avoid using overly heavy stabilizer that makes the fabric stiff—this changes the drape and feel of the hoodie.
Place the stabilizer under the design area and, if necessary, use a second lightweight stabilizer on top for finer fabrics to reduce thread penetration problems.
What are the correct needle and thread combinations?
Common setup: 75/11 or 80/12 embroidery needle with polyester embroidery thread for general-purpose projects.
For metallic threads, use a larger needle and slow stitching speed with a thread net to prevent snapping.
Always match bobbin thread weight and type to the top thread to ensure correct tension and stitch locking.
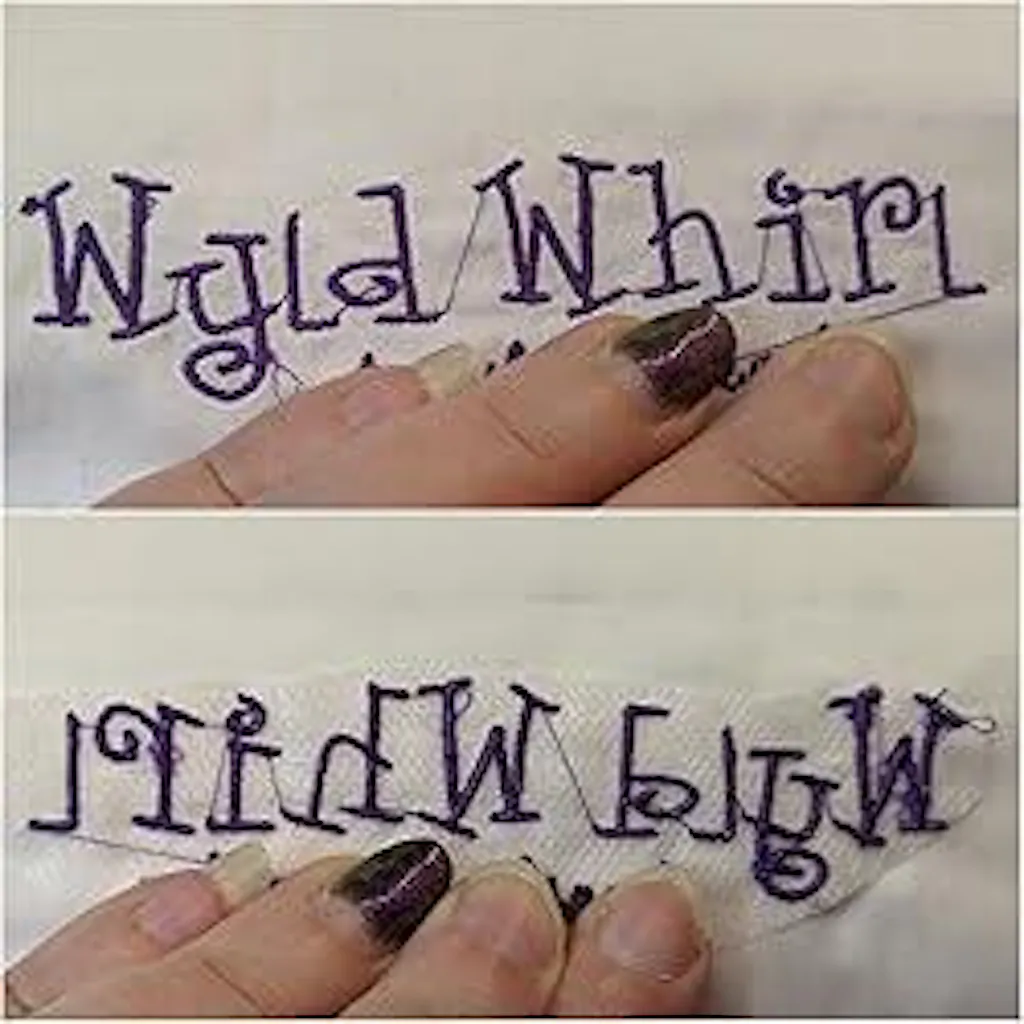
How should I manage machine tension and thread breaks?
Thread tension and breaks are frequent beginner headaches. Follow these steps:
Check machine manual for recommended tension baseline. Many modern Poolin machines have automatic tension systems accessible via the touchscreen—use that as a starting point.
Test on scrap: run a small test stitch-out (H-test or simple satin column) with your chosen thread and stabilizer to assess tension balance.
If loops appear on the back → tighten the top tension. If top thread shows through on the back → loosen the top tension. Adjust in small increments and retest.
""Run a quick sample test on scrap fabric for every new thread and fabric combination. It prevents most in-progress failures." - Professional Embroidery Practice"
How does fabric type affect your method (quick reference)?
Below is a compact, easy-to-read mapping (simulated table using list format) that replaces a formal table while remaining compliant with formatting rules:
Lightweight cotton / linen: Stabilizer: light to medium tear-away; Needle: 75/11; Thread: polyester or rayon.
Medium-weight knit (hoodies): Stabilizer: medium cut-away; Needle: 80/12; Thread: polyester.
Felt / wool: Stabilizer: heavier cut-away or sew-in backing; Needle: 90/14; Thread: polyester or cotton-wrapped.
Faux leather / vinyl: Stabilizer: heavier tear-away or backing; Needle: leather/denim type; Thread: heavy polyester; Press with teflon sheet.
What professional standards and references support these recommendations?
For textile testing and product care guidelines, many professionals refer to AATCC standards (American Association of Textile Chemists and Colorists) for colorfastness and fabric care testing. For measurement accuracy and equipment calibration, NIST (National Institute of Standards and Technology) provides guidance on measurement traceability and calibration best practices that ensure repeatable placement and dimension accuracy across production runs.
While embroiderers rarely need to consult these agencies directly for a single hobby project, commercial production and quality assurance workflows should document test results consistent with AATCC test methods and maintain measuring and calibration records tied to NIST-traceable instruments, especially when creating garments for retail or safety-specific applications.
Step 10: What frequently asked questions do beginners have about hoodie appliqué embroidery?
Below are answers to common beginner questions based on years of experience and the processes shown in the PooLin tutorial.
Do I need a special hoop for hoodies? — Use a hoop large enough to fit the design while keeping the area taut. For knits, avoid over-stretching; a larger hoop with more even tension across the fabric is usually better.
Can I use iron-on appliqué without fusible web? — Fusible web is the most reliable method for machine appliqué because it prevents slippage during stitching. Fabric glue is an alternative for some fabrics but can gum needles and should be used cautiously.
How close should I trim to the stitch line? — Trim within 1–2 mm of the tack-down stitch but do not clip the stitch itself. For dense satin edges, leave a tiny allowance and let the satin stitch cover it.
What speed should I run the machine? — Beginners should run slower to watch thread behavior and alignment. For production, increase speed after settings are fully tested on scrap samples.
How do I avoid appliqué puckering? — Use the correct stabilizer, avoid over-tight hooping, and ensure correct thread tension. Press lightly after finishing to smooth stitches without flattening the texture.
Step 11: How can I practice and scale my applique skills for different projects?
Practice makes perfect—but practicing smart is what accelerates learning. Try these exercises:
Create a small appliqué sampler with three different fabrics and stabilizers. Record settings and results for each:
Document the needle size, thread type, tension number, and hoop used for every sampler piece so you build a personalized reference library.
Experiment with design sizes—appliqué that works well at 6 cm may need different stabilizer strategy at 20 cm.
Practice trimming freehand and with the hoop attached to understand which is faster without sacrificing accuracy.
Over time, this documentation becomes your go-to production manual, enabling quick setup and predictable outcomes when doing repeat orders or gifts.
Step 12: What final checklist should I follow before starting production?
Confirm design size and format (DST preferred for Poolin).
Pre-wash and press the garment if possible to reduce post-production shrinkage.
Choose stabilizer and test stitch on similar fabric.
Load correct needle and thread; wind bobbin carefully and test bobbin tension.
Hoop the garment with adequate but not excessive tension; align the needle to the center mark.
Keep appliqué supplies and trimming tools ready near the machine for fast turnaround between passes.
Following this checklist reduces surprises and helps maintain consistent quality across multiple items.
Conclusion: Why is Embroidery appliqué worth learning and what should I do next?
Embroidery appliqué offers a powerful way to add bold color and texture to garments while protecting delicate fabrics from heavy stitch density. With careful planning—accurate placement, correct stabilizer selection, proper hooping, and methodical trimming—you can achieve professional results on hoodies, bags, baby onesies, and more.
If you’re new, start with a small practice design and use the step-by-step checklist above. Document settings you like and gradually scale complexity. The Poolin EOC06 / UC-six workflow demonstrated by PooLin is beginner-friendly and, combined with the professional tips in this guide, will give you predictable, repeatable outcomes.
Credit: This tutorial is adapted from a demonstration by PooLin (PooLin Embodler Studio) showing hoodie appliqué using the poolin machine. For the original demonstration and design downloads, see the PooLin channel and the referenced design source.
Step 13: How can I get help or continue learning?
Join embroidery communities, follow manufacturer forums for Poolin machines, and consult AATCC resources for fabric and care guidance when preparing products for sale. Share your photos, ask questions in groups, and keep testing—experience plus documentation is the best teacher.
If you want more step-by-step tutorials or printable checklists based on this workflow, leave a comment or join the Poolin user groups referenced in the original video description.


0 comments