
As a professional with more than many years working in machine Embroidery , I want to walk you through a friendly, step-by-step tutorial that mirrors a Poolin video I produced. In this guide I’ll teach you how to embroider a baby onesie from start to finish using a home single-needle embroidery machine (the Poolin EOC06 featured in the video), explain the market situation for personalized baby items, and estimate income potential if you decide to sell custom onesies. My goal is to combine practical process instructions, safety and quality best practices, and real-world business context so you can stitch confident, sellable work. Embroidery is an art and a business. Personalized baby items remain one of the strongest niches in handmade and custom apparel markets because parents and gift-givers value uniqueness and craftsmanship. Below I’ll walk you through the exact materials, setup, machine settings, and finishing tips I used in the video—plus business-oriented advice about pricing, costs, and compliance with safety standards for infant clothing.
Step 1: What Materials Do I Need to Start Embroidering a Baby Onesie?
Before you touch the machine, gather the right materials. Proper preparation prevents mistakes and saves time. For the onesie project I used in the video, here’s the checklist I always recommend:
- Baby onesie (100% cotton or cotton blend recommended)
- Embroidery machine (Poolin EOC06 or similar single-needle home machine)
- Embroidery hoop (5.5" square hoop worked well for the tiger design)
- Top embroidery thread (polyester or rayon recommended)
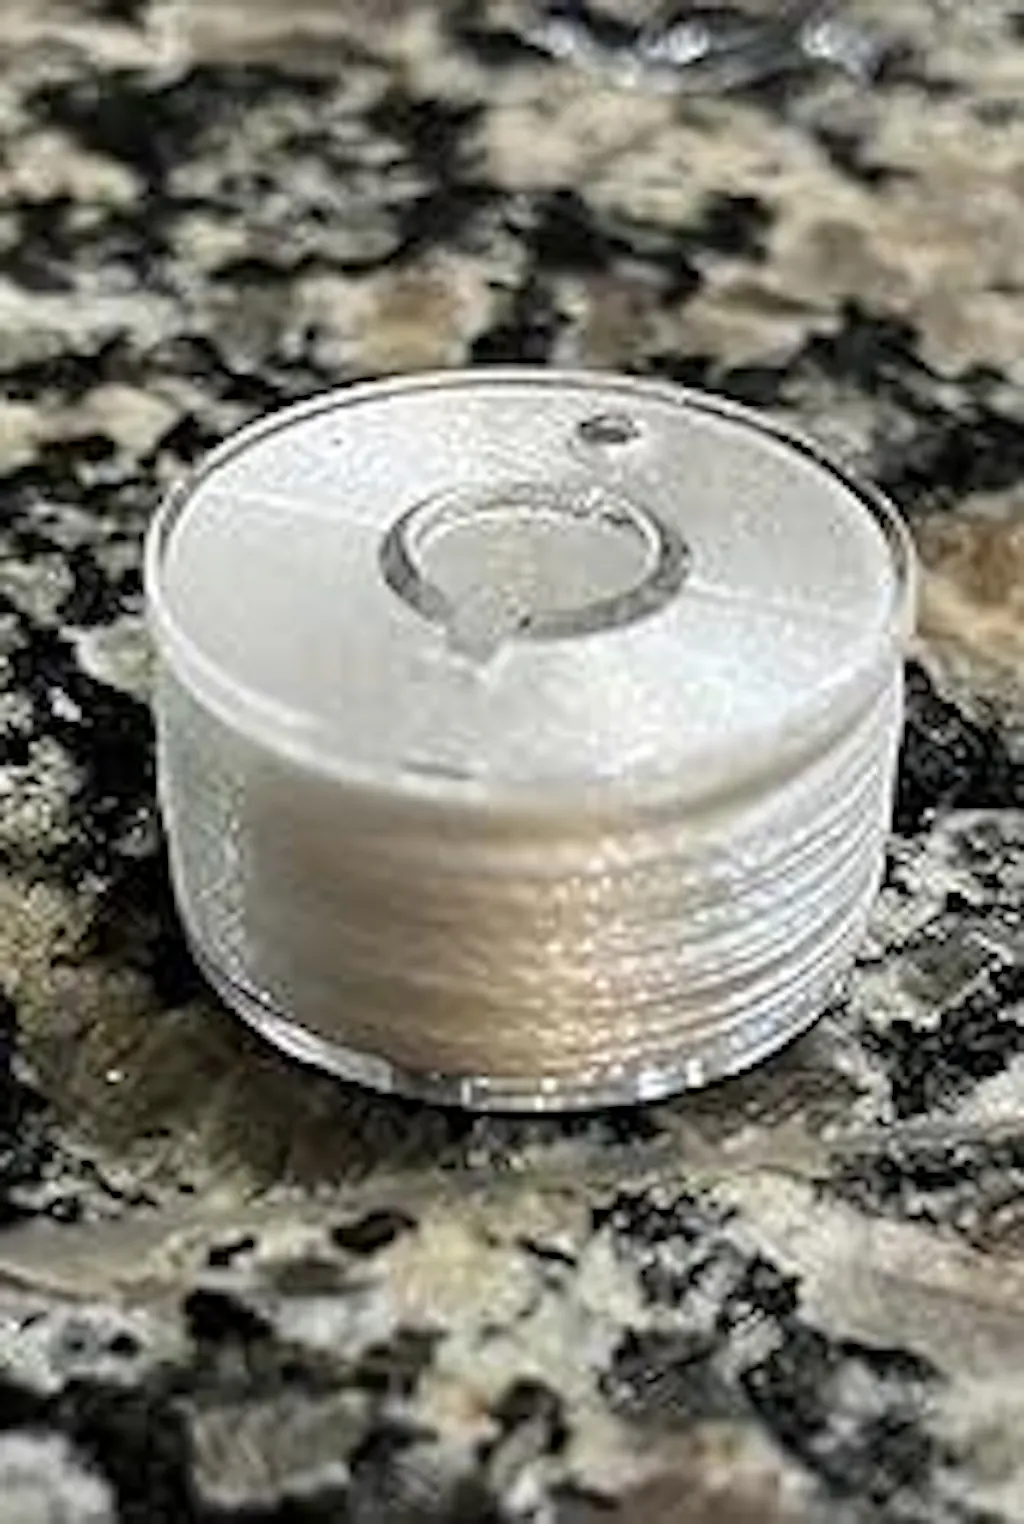
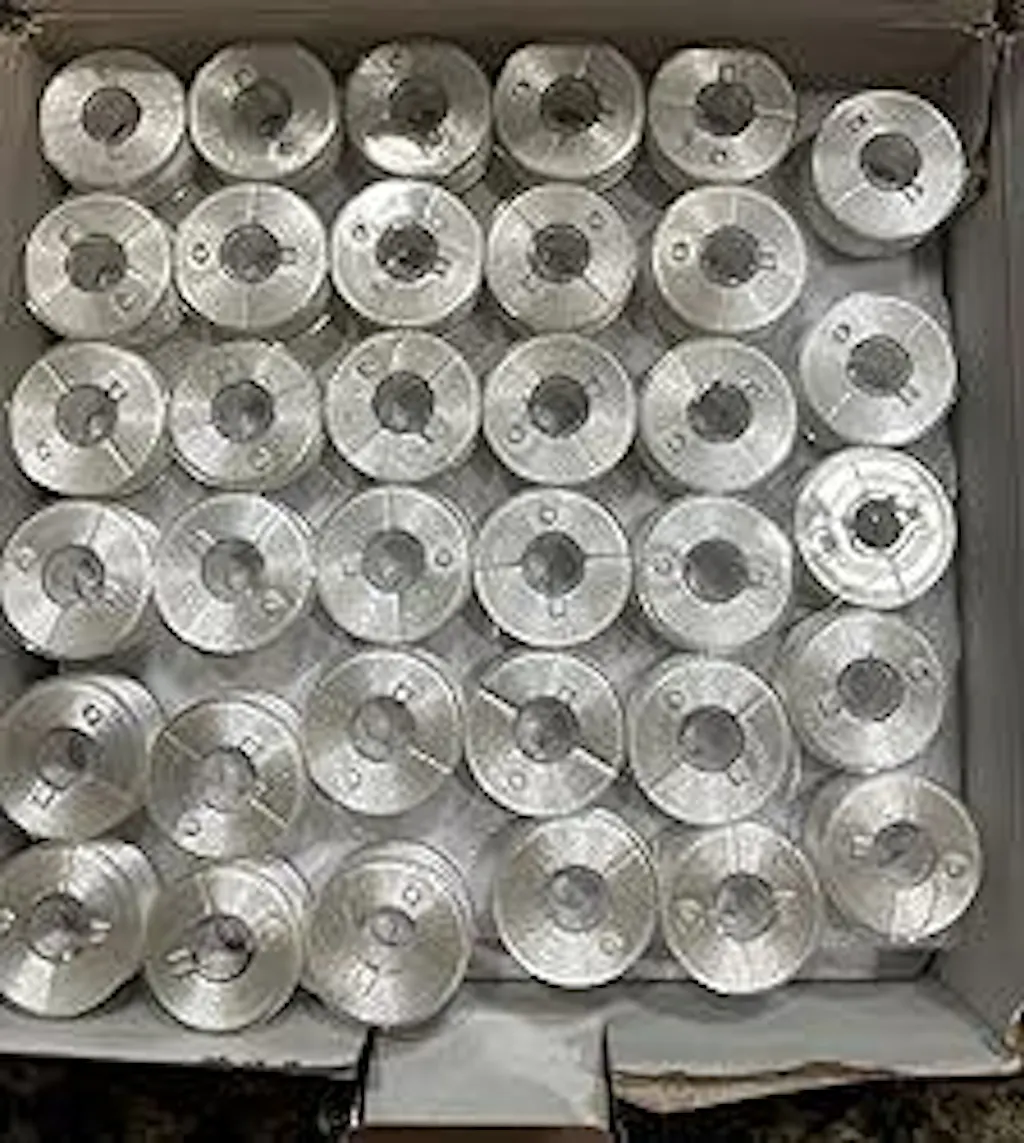
- Bobbin thread (high-quality polyester bobbin thread)
- Stabilizer (tear-away, cut-away, or water-soluble depending on fabric)
- Embroidery needle (size 75/11 or 80/12 are common for baby knits)
- Heat-resistant pressing cloth and steam iron
- Small scissors or snips for trimming
Note on stabilizer choice: if the onesie is soft or stretchy, a water-soluble stabilizer is a great option to avoid stiffness on the final garment. I explained and demonstrated this choice around 00:24 in the video.

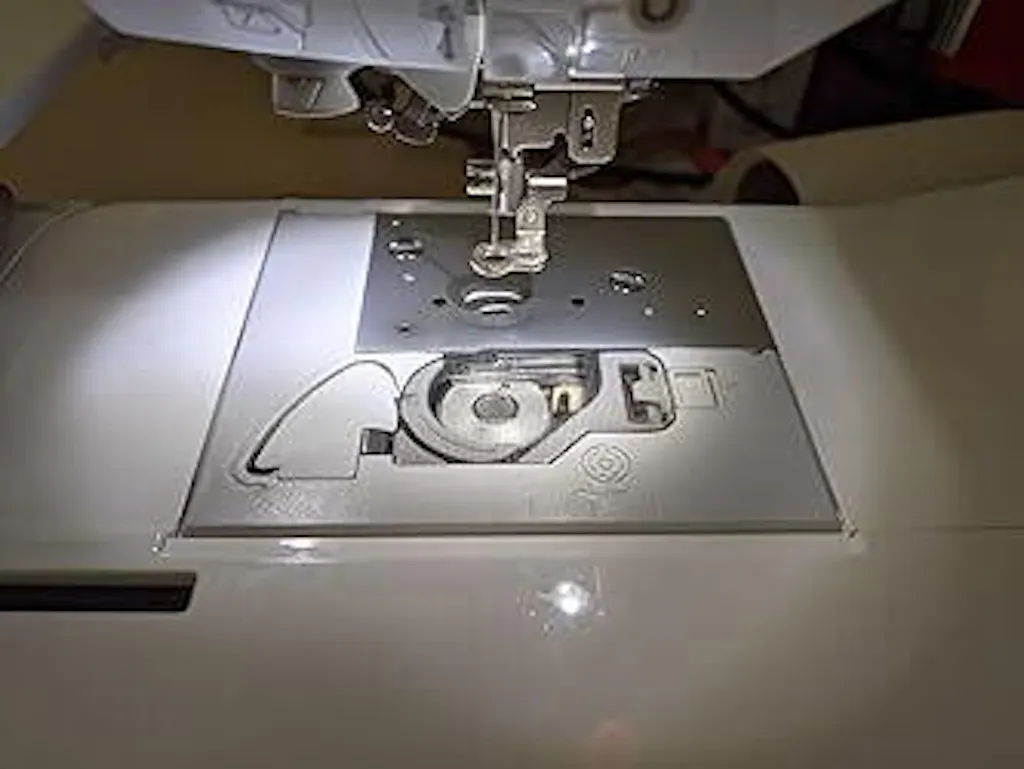
Step 2: How Do I Hoop the Onesie Properly for Successful Embroidery?
Hooping a onesie correctly is one of the most important steps in machine Embroidery . If your fabric shifts or puckers during stitching you’ll ruin the design. In the video I demonstrate how to secure the onesie to the hoop and how a water-soluble stabilizer can help when working with stretchy knit fabrics. My recommended method:
- Place the stabilizer on the inside of the onesie where the design will go. If you use a water-soluble stabilizer, baste it lightly or temporarily spray adhesive to hold it in place.
- Use a 5.5" square hoop (as shown in the video) for small baby designs like the tiger motif. Position the hoop so the fabric is flat—not stretched—and the stabilizer supports the stitch area.
- Check for wrinkles and reposition until perfectly smooth. The hoop should hold the fabric taut like a drum, but not over-stretched because overstretching can distort the knit.

Hooping technique matters more than many beginners think. While some embroiderers try to tension the garment by stretching, you want balanced hoop tension. Think of hooping as stabilizing rather than stretching.
Step 3: How Do I Import an Embroidery Design into the Machine?
Choosing the right design and importing it correctly is the next step in any successful Embroidery project. In the video I selected a small, adorable tiger design that works well for a baby onesie. The Poolin EOC06 lets you import DST or DSP format designs via USB. My import workflow:
- Select a format compatible with your machine (DST is the industry-standard for many home and commercial machines).
- Plug a USB with your design file into the machine’s USB port and follow the machine’s touchscreen prompts to import. In the video I show importing at 01:01.
- Verify the design size and stitch count—small designs are ideal for baby garments; the tiger fit within a 5.5" square hoop comfortably.

Tip: Always preview the stitch sequence and thread color stops on the machine before stitching. This prevents unexpected color order issues and helps you prepare thread spools ahead of time.
Step 4: What Screen Settings and Hoop Choice Should I Use?
Choosing the right hoop and screen settings determines whether the embroidery will land in the right location and scale. During the video I showed how to preview the design on-screen and confirmed that a 5.5" square hoop was sufficient (01:23–01:28). Settings checklist:
- Hoop selection: 5.5" square for small chest-front designs.
- Positioning: Use the machine’s positioning function to center the design on the onesie (I used the poolin touchscreen position button at 01:50).
- Stitch density: Use default density for cotton knits; reduce density slightly on very thin fabrics.
- Thread tension: For poolin EOC06 the automatic tension system can be adjusted from the touchscreen. I recommend testing on scrap before final stitching.

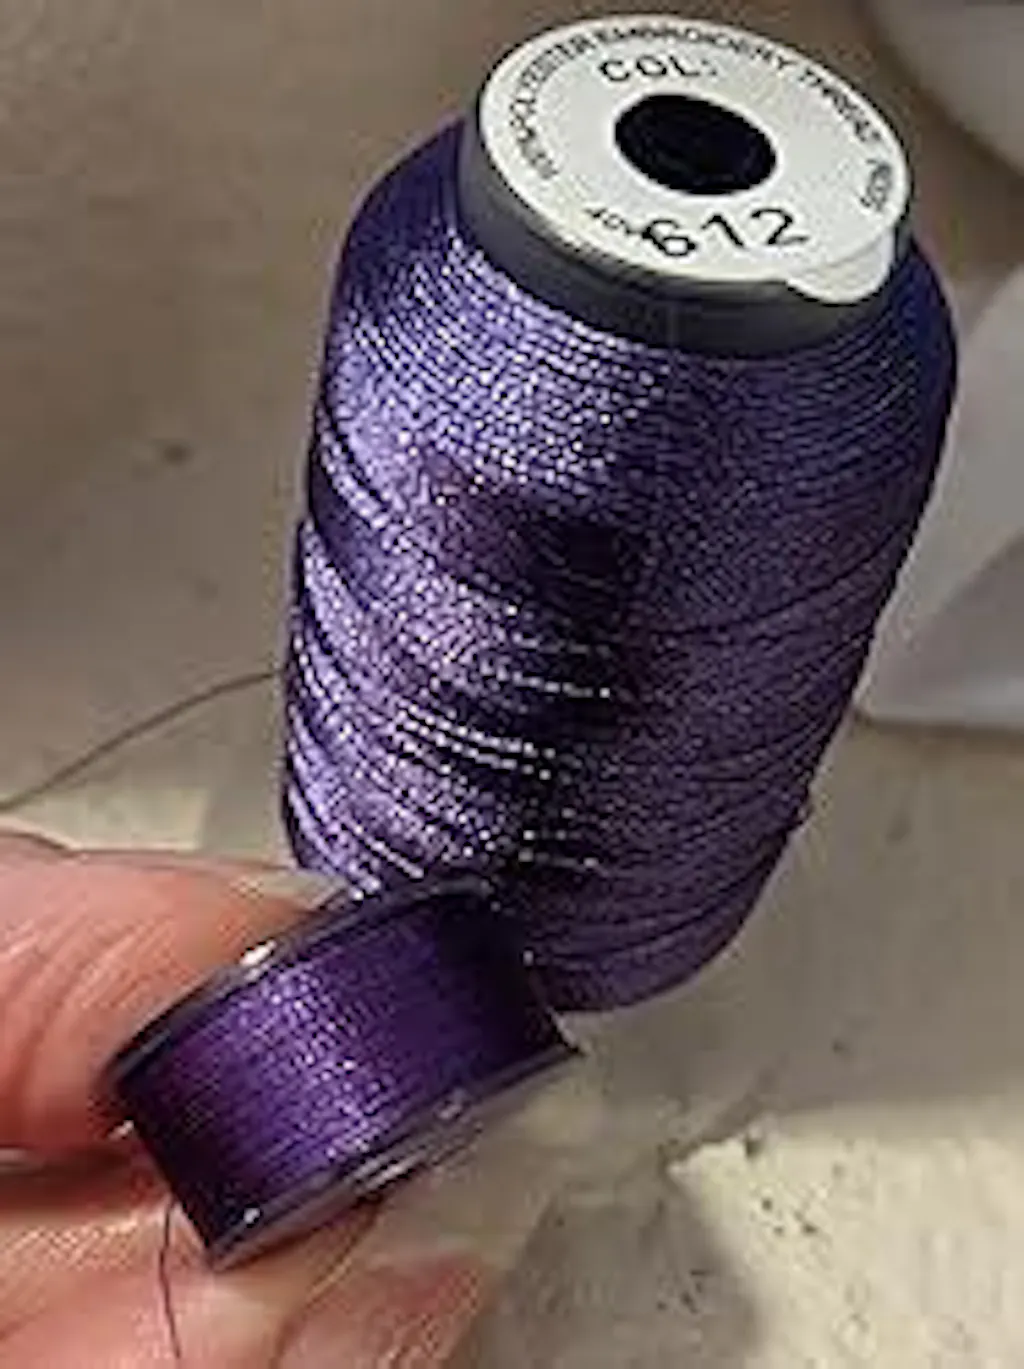
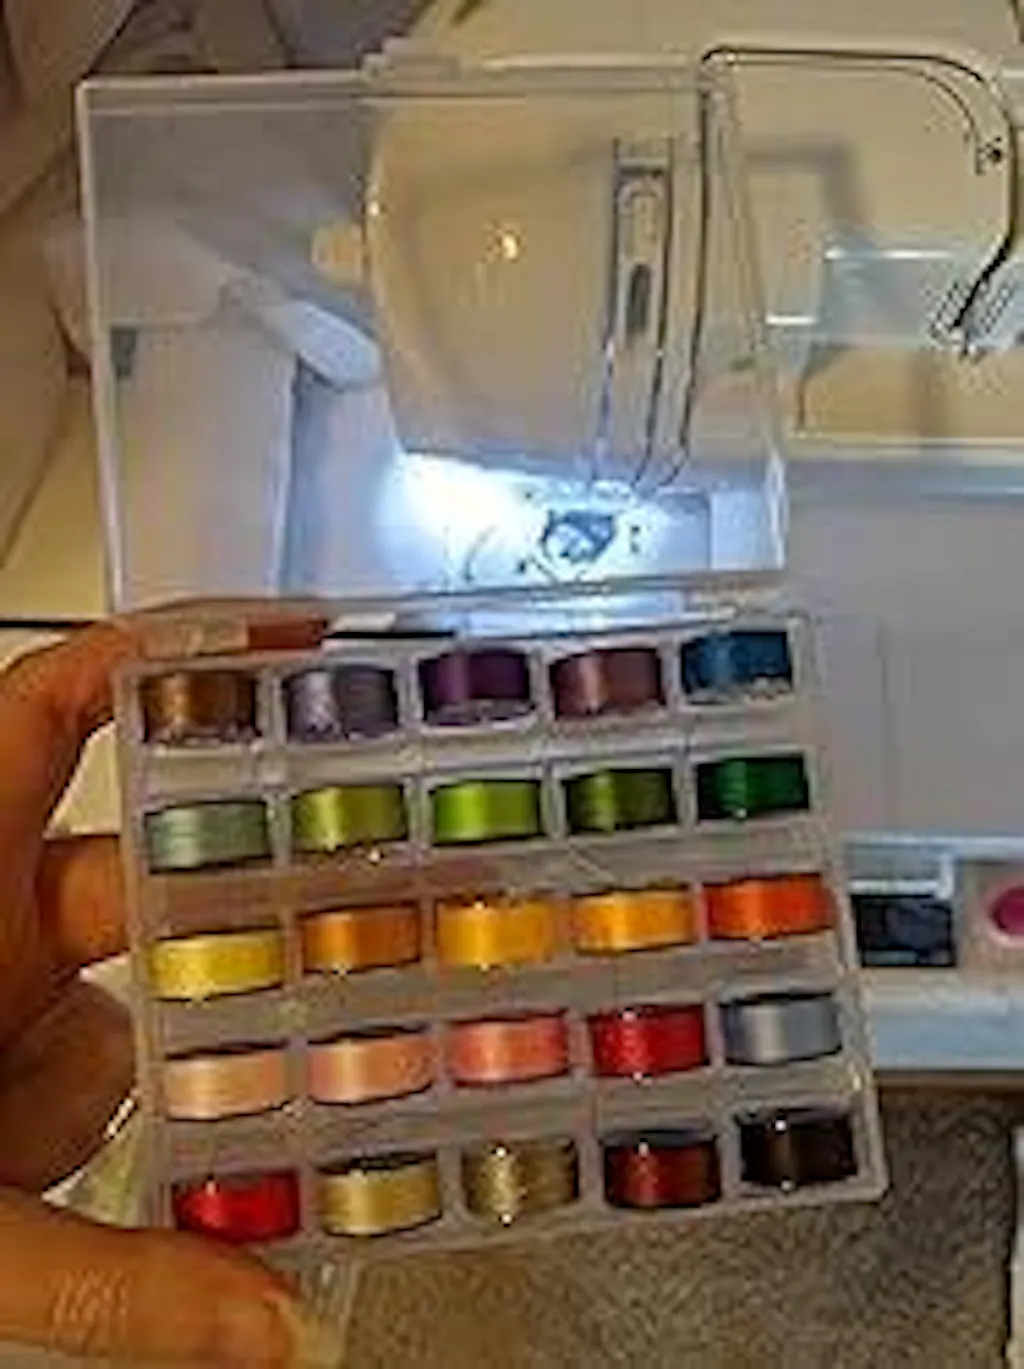
Step 5: How Do I Choose Colors and Prepare Thread?
Picking thread colors is one of my favorite parts of the process—I enjoy selecting palettes that work for both boys and girls. I demonstrate this step at 01:31 in the video. A coordinated color selection makes the final Embroidery look professional and intentional rather than random. Color and thread tips:
- Choose high-quality polyester or rayon embroidery thread for durability and sheen.
- Map colors to the design stops and label your bobbins in advance to avoid delays.
- If your design includes dense fills, choose colors that avoid heavy contrast bleeding into fine details.

Always wind fresh bobbins and confirm the bobbin thread quality. Poor bobbin thread can cause tension and loop issues even if the top thread is perfect.
Step 6: How Do I Start the Embroidery and Monitor Progress?
With the onesie hooped, the design loaded, and threads prepared, it’s time to start the machine. The video captures the entire stitching sequence, and the magic happens in real time. I begin stitching at 02:04 and monitor the machine closely for the first few minutes to catch any early issues. My start-and-monitor routine:
- Lower the machine’s presser or needle guard and confirm the hoop is locked in place.
- Do a short 5–10 second run to ensure the needle is cleanly penetrating and threads are forming proper locks.
- Keep a light hand near the garment but never touch the hoop while the machine runs—let the machine do the work.
- Listen for unusual sounds which could indicate thread tension problems or needle hitting a hoop screw.
- Be ready with scissors to trim jump threads after color changes, but wait until a safe stop to avoid nicking your fabric.

If a thread breaks, stop the machine, re-thread, and re-seat the hoop if necessary. For busy or expensive projects I recommend staying nearby for the entire stitch-out, especially in the early practice stages.
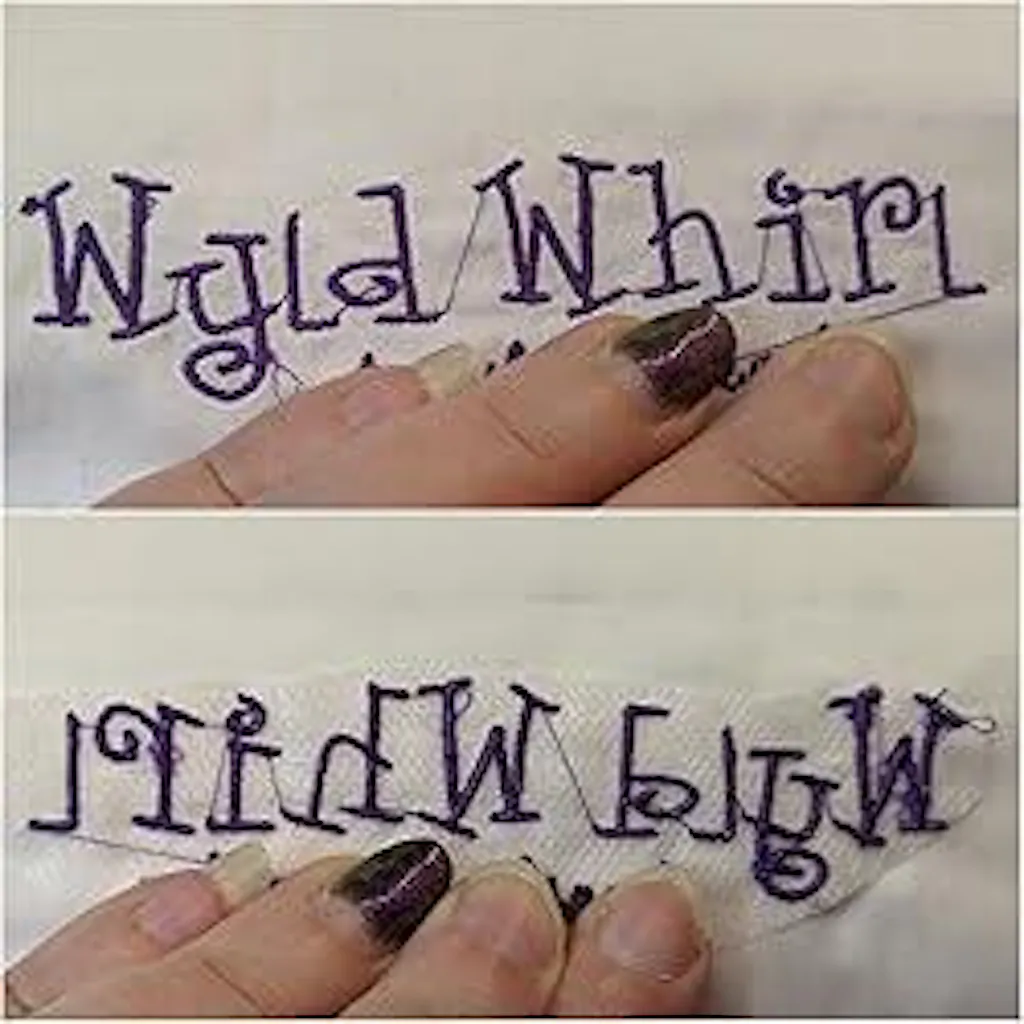
Step 7: How Do I Finish the Embroidery and Make the Onesie Gift-Ready?
Finishing is where quality shows. The video shows the completed stitch-out at 03:23–03:31. That last stage includes removing stabilizer, trimming, pressing, and final inspection. Finishing steps I follow:
- Trim loose threads on the front and back using small sharp scissors.
- If you used a water-soluble stabilizer, rinse or dissolve it according to the manufacturer’s instructions so the design feels soft and baby-safe.
- If a tear-away stabilizer was used, carefully remove the excess without stretching the fabric.
- Press from the back with a protective cloth on a low heat setting to avoid flattening pile or shimmer—always follow thread manufacturer iron recommendations.
- Inspect the garment for any sharp trimming or snags that could irritate a baby’s skin.
If a thread breaks, stop the machine, re-thread, and re-seat the hoop if necessary. For busy or expensive projects I recommend staying nearby for the entire stitch-out, especially in the early practice stages.
Step 7: How Do I Finish the Embroidery and Make the Onesie Gift-Ready?
Finishing is where quality shows. The video shows the completed stitch-out at 03:23–03:31. That last stage includes removing stabilizer, trimming, pressing, and final inspection. Finishing steps I follow:
- Trim loose threads on the front and back using small sharp scissors.
- If you used a water-soluble stabilizer, rinse or dissolve it according to the manufacturer’s instructions so the design feels soft and baby-safe.
- If a tear-away stabilizer was used, carefully remove the excess without stretching the fabric.
- Press from the back with a protective cloth on a low heat setting to avoid flattening pile or shimmer—always follow thread manufacturer iron recommendations.
- Inspect the garment for any sharp trimming or snags that could irritate a baby’s skin.

After finishing, I recommend providing washing instructions to the buyer or gift recipient: wash cold, gentle cycle, and avoid bleach; tumble dry low or lay flat to preserve the stitch and fabric integrity.
Step 8: How Is Market Demand and Income for Embroidered Baby Onesies?
Now let’s talk business. As someone who has both embroidered and sold custom garments for years, I can tell you the baby niche converts well. Parents frequently pay a premium for a meaningful, personalized item for showers, newborn gifts, and milestones. Market snapshot and income factors:
- Demand: Personalized baby items remain popular on marketplaces like Etsy, craft fairs, and boutique baby shops. Search volume and buyer intent are high for “personalized baby gift” keywords.
- Pricing: A well-made embroidered onesie can retail between $18–$45 depending on complexity, thread cost, brand of onesie, and added personalization (name/date).
- Costs: Typical direct costs for a single custom onesie include blank onesie ($3–$8 wholesale), stabilizer and thread ($0.50–$2), and labor (I track my hourly cost; more below).
- Profit: After factoring fees and packaging, many home embroiderers achieve gross margins of 40–70% per item if they price effectively and keep material costs low.
Time per onesie: On average I can complete a simple embroidered onesie (design import, hooping, stitching and finish) in 20–45 minutes depending on design complexity. If you scale, expect throughput improvements with jig systems and pre-hooped methods. Compliance and safety: If you sell baby clothing in the U.S., be aware of Consumer Product Safety Commission (CPSC) rules for infant garments and relevant ASTM textile flammability considerations. Mention these safety standards in listings to build buyer trust. "For authoritative guidelines, consult the U.S. Consumer Product Safety Commission (CPSC) and ASTM safety standards for children’s sleepwear and garment labeling."
Step 9: What Are Common Troubleshooting Tips for Embroidery on Onesies?
Problems happen—especially when you’re learning. Here are the most common issues and how I fix them:
- Fabric puckering: Use heavier stabilizer or switch to a properly fitting hoop; reduce top thread tension slightly.
- Looping on back: Top tension too loose—tighten incrementally and test.
- Thread breaks: Check needle condition, thread quality, and ensure correct threading path.
- Design distortion: Ensure fabric isn’t overstretched in hoop and stabilize with appropriate type.
Test often—run a small sample stitch-out on a scrap with identical materials before stitching on the final onesie. This habit saves countless replacements and frustration.
Step 10: What Comparisons Should I Make When Choosing Threads and Stabilizers?
Although I can’t provide a visual table here, I’ll present a clear comparison to help you choose between common options. I use these comparisons regularly in my professional workflow.
- Stabilizer: Tear-away vs Cut-away vs Water-soluble
- Tear-away: Best for stable woven fabrics, quick removal, less soft feel on knits.
- Cut-away: Best for stretchy knits and garments requiring permanent stabilization; offers best long-term dimensional stability for high-density designs.
- Water-soluble: Best for delicate fabrics or when a soft finish is required on the garment interior—as with baby onesies.
- Thread: Polyester vs Rayon vs Cotton
- Polyester: Excellent durability and colorfastness—my go-to for baby items due to washability.
- Rayon: High sheen and smooth look, but may be slightly less durable in heavy laundering; still popular for special effects.
- Cotton: Low sheen, more prone to breakage and shrinkage—less common in modern machine Embroidery .
What Quality and Safety Standards Should I Follow?
As someone who sells embroidered baby items, I make quality and safety a priority. Regulatory standards are essential considerations:
- CPSC (U.S. Consumer Product Safety Commission): Mandatory rules for infant products, including a focus on choking hazards, labeling, and garment safety.
- ASTM standards: These cover textile flammability and labeling—relevant for sleepwear but also good practice for general apparel quality.
- Manufacturer guidance: Follow thread and stabilizer manufacturers’ recommendations for washing, heat settings, and use instructions.
"Always reference CPSC guidance and ASTM standards when creating apparel for infants to ensure compliance and minimize liability risks."
What Are the Best Practices for Presenting and Shipping Custom Onesies?
Presentation impacts perceived value. I recommend packaging custom onesies with care:
- Include a soft tissue wrap, a small care card detailing washing instructions, and a card indicating materials used (useful for parents with allergy concerns).
- Use flat mailers or small boxes with minimal movement inside to prevent creasing.
- Photograph the finished product on a neutral backdrop and close-up detail shots of the embroidery for your listings or social posts.
What Frequently Asked Questions Do You See About Embroidering Onesies?
Here are FAQs I reply to frequently from buyers and new embroiderers—short, practical answers based on years of experience.
- Is machine Embroidery safe for baby clothes? Yes, when you use appropriate materials and remove hard stabilizer remnants. Use soft threads and water-soluble stabilizers for the interior feel.
- How many stitches can a onesie design have? Keep designs under 25,000 stitches for small chest placements to avoid overheating the fabric and making the design too stiff.
- Can I wash embroidered onesies? Yes—wash cold, gentle cycle, avoid chlorine bleach, and tumble dry low or lay flat to dry.
- How long does it take to embroider a onesie professionally? Average: 20–45 minutes per piece for simple designs; 1 hour+ for more complex or multi-color personalization.
- What should I price for resale? Start with materials and labor, then add a margin. Typical retail ranges I see are $18–$45 depending on customization level and brand positioning.
What Sources and References Support These Practices?
For professionals and serious hobbyists, I recommend reading and referencing authoritative sources and standards:
- U.S. Consumer Product Safety Commission (CPSC) guidance on infant garment safety.
- ASTM International standards for textile flammability and labeling (search "ASTM children's sleepwear standards").
- Manufacturer guides for thread brands (e.g., Madeira, Isacord) and stabilizer manufacturers for product-specific instructions.
- Digitizing and tension resources such as Digitizing USA and Hatch Embroidery for technical stitch and tension guidance.
"When in doubt, follow manufacturer instructions for thread and stabilizer, and keep documentation on hand for compliance and customer trust."
What Final Thoughts Do I Have About Starting a Onesie Embroidery Side Business?
As an experienced embroiderer I can tell you that onesies are a reliable entry product for anyone starting a home embroidery business. They are low-cost, quick to produce, and appeal to a broad market. Key success factors include consistent quality, clear product photos, adherence to safety standards, and simple but effective packaging. Scaling tips:
- Standardize your most popular designs and create bundles (e.g., set of three onesies) to increase average order value.
- Keep a library of pre-hooped blanks and prepped stabilizers to reduce setup time for repeat designs.
- Offer personalization (names, dates) at a small upcharge to increase perceived value.
What Is My Final Recommendation for Beginners?
Start with simple designs, test on scraps until you master hooping and tension, and follow safety guidelines for baby garments. If you want to monetize, track your time and costs carefully; at current market rates a focused, efficient hobbyist can build a modest but steady income stream from custom baby Embroidery . Thanks for reading. This tutorial is inspired by the Poolin video demonstration and mirrors the exact steps I used in that stitch-out. If you want to view the original video demonstration, look for the Poolin channel video titled "Embroider a Baby Onesie With Poolin Embroidery Machine | For Beginners" for a visual companion to this guide. Credit to Poolin for the demonstration and for showing how accessible home single-needle Embroidery can be.


0 comments